Get Started
Welcome to Fees, your new business management journey! We're excited to help you transform the way you run your business. Before diving into our powerful features, let's quickly set up your account together. You'll notice some features are currently waiting to be unlocked - don't worry, we'll guide you through each step to get your account fully activated and running.
Let's begin by completing these three simple steps: verify your email address, confirm your phone number, and set up your business profile.
Verify Email Address
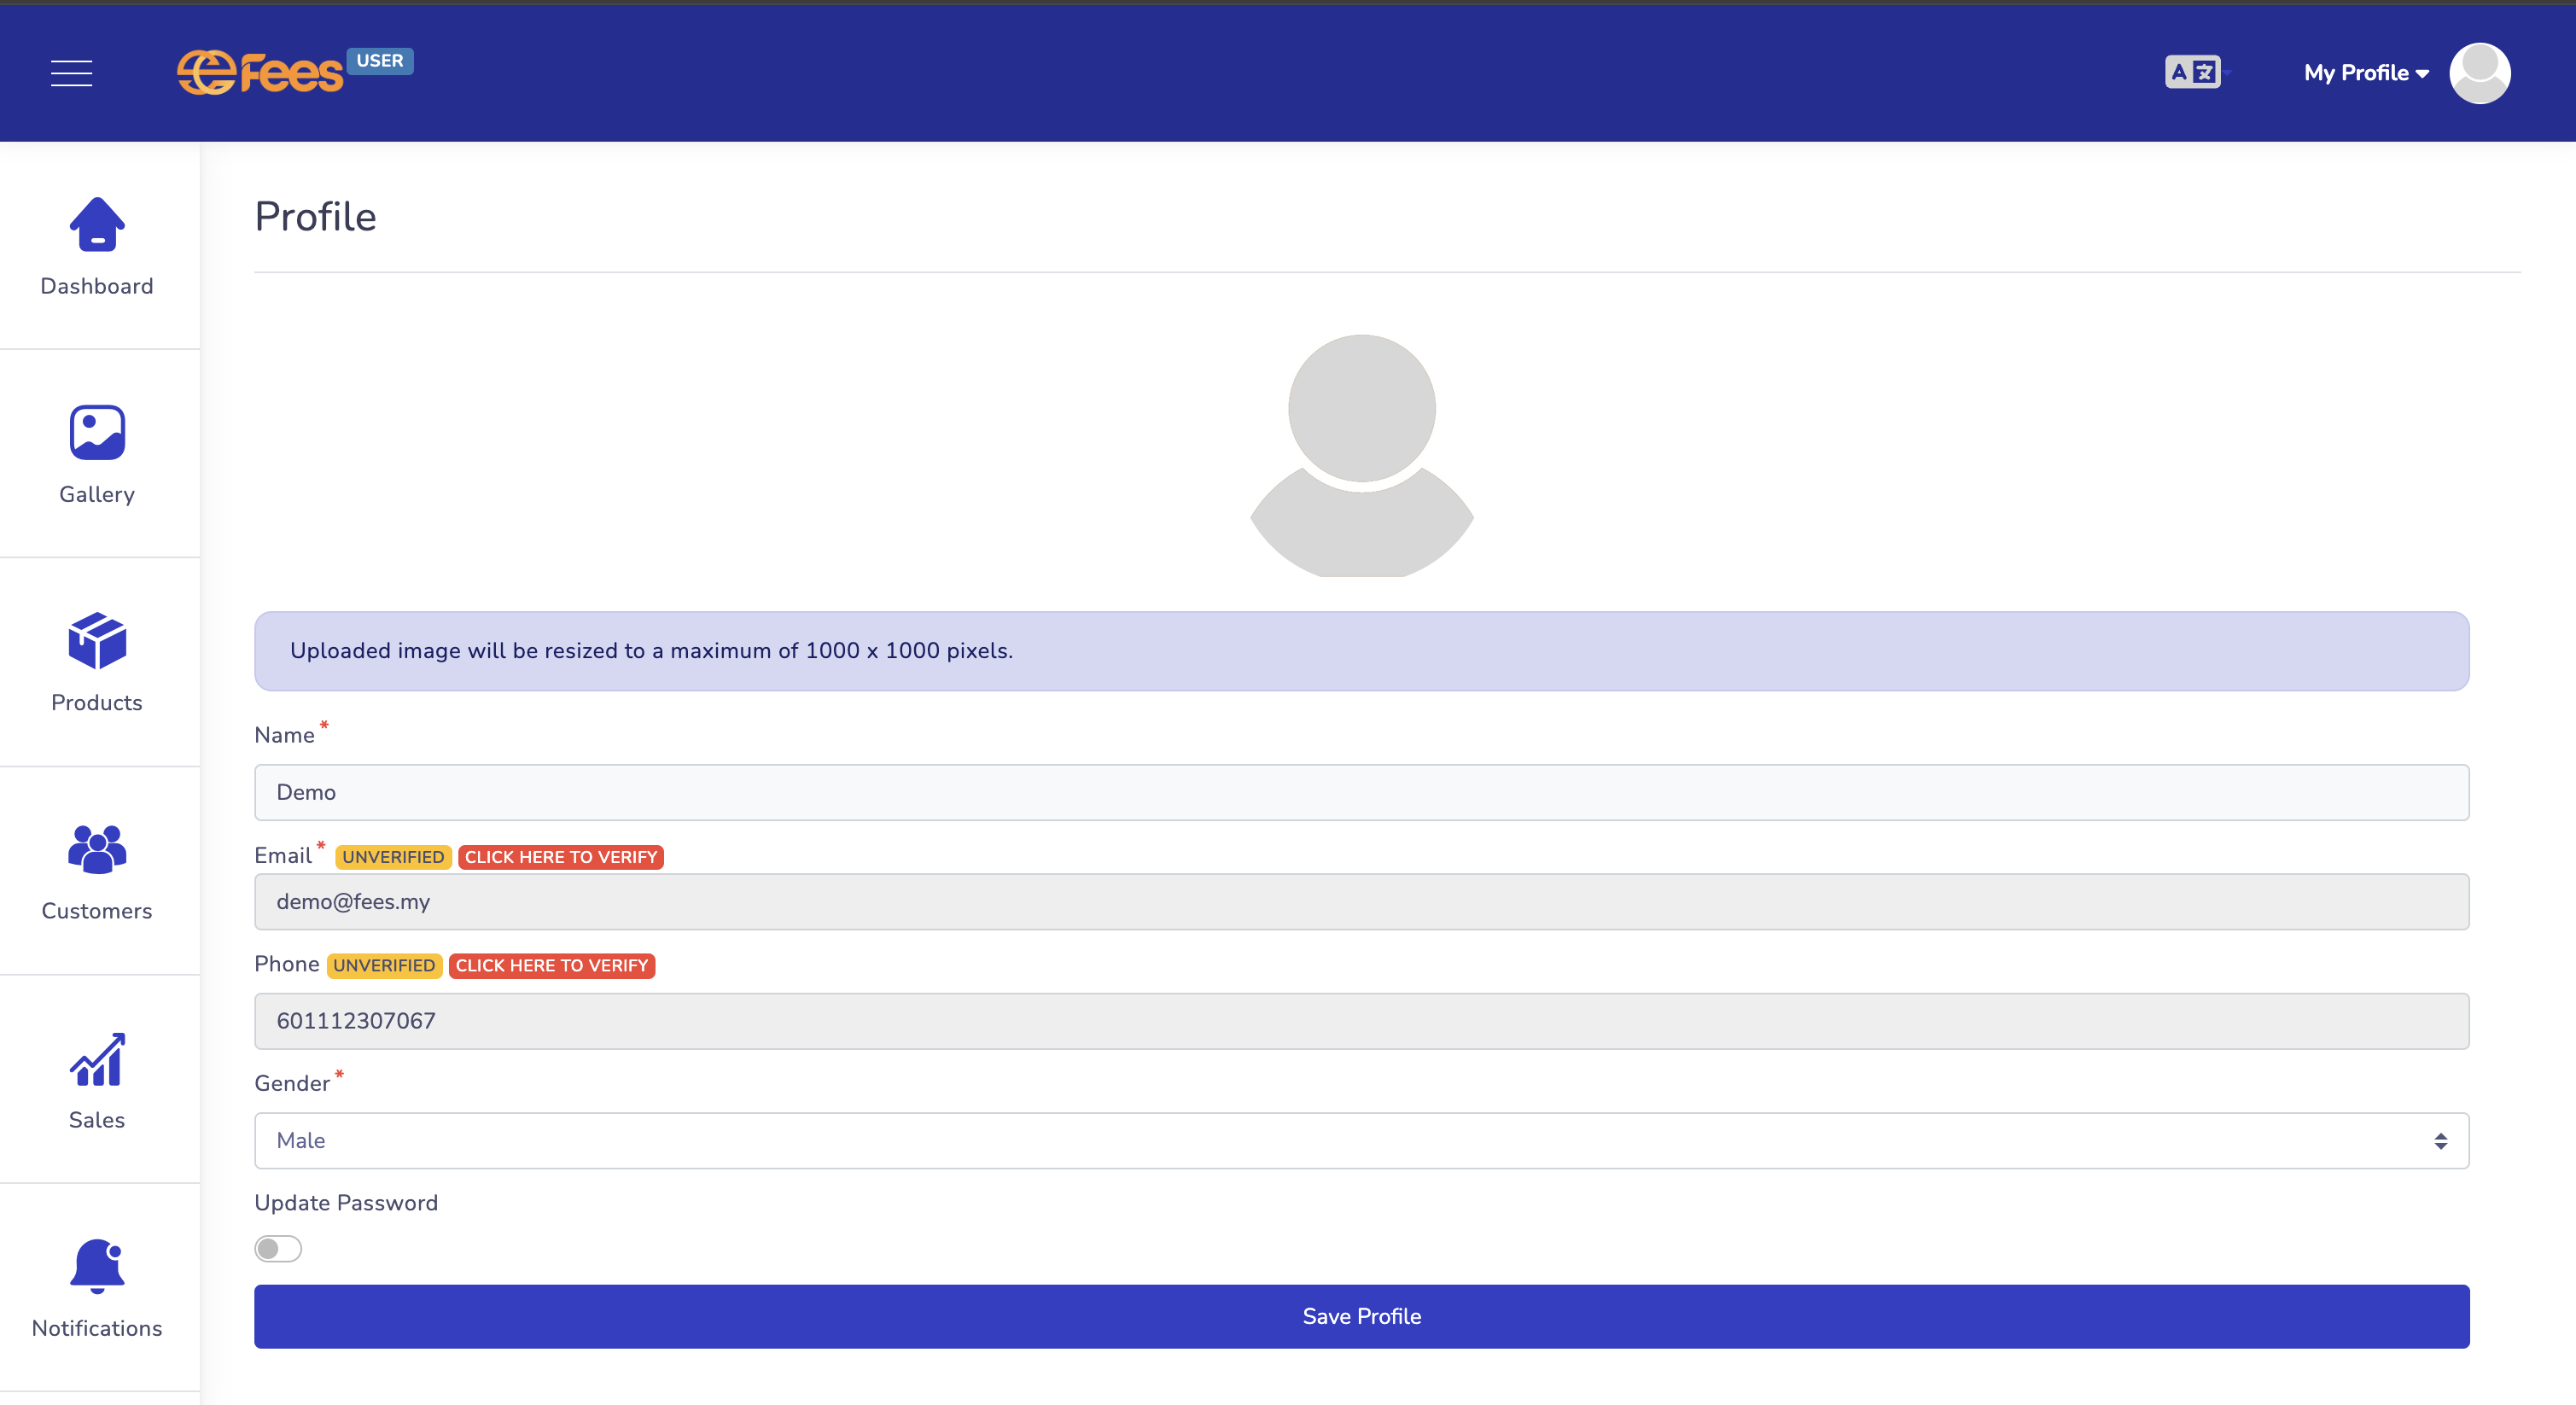
First, click the profile tab
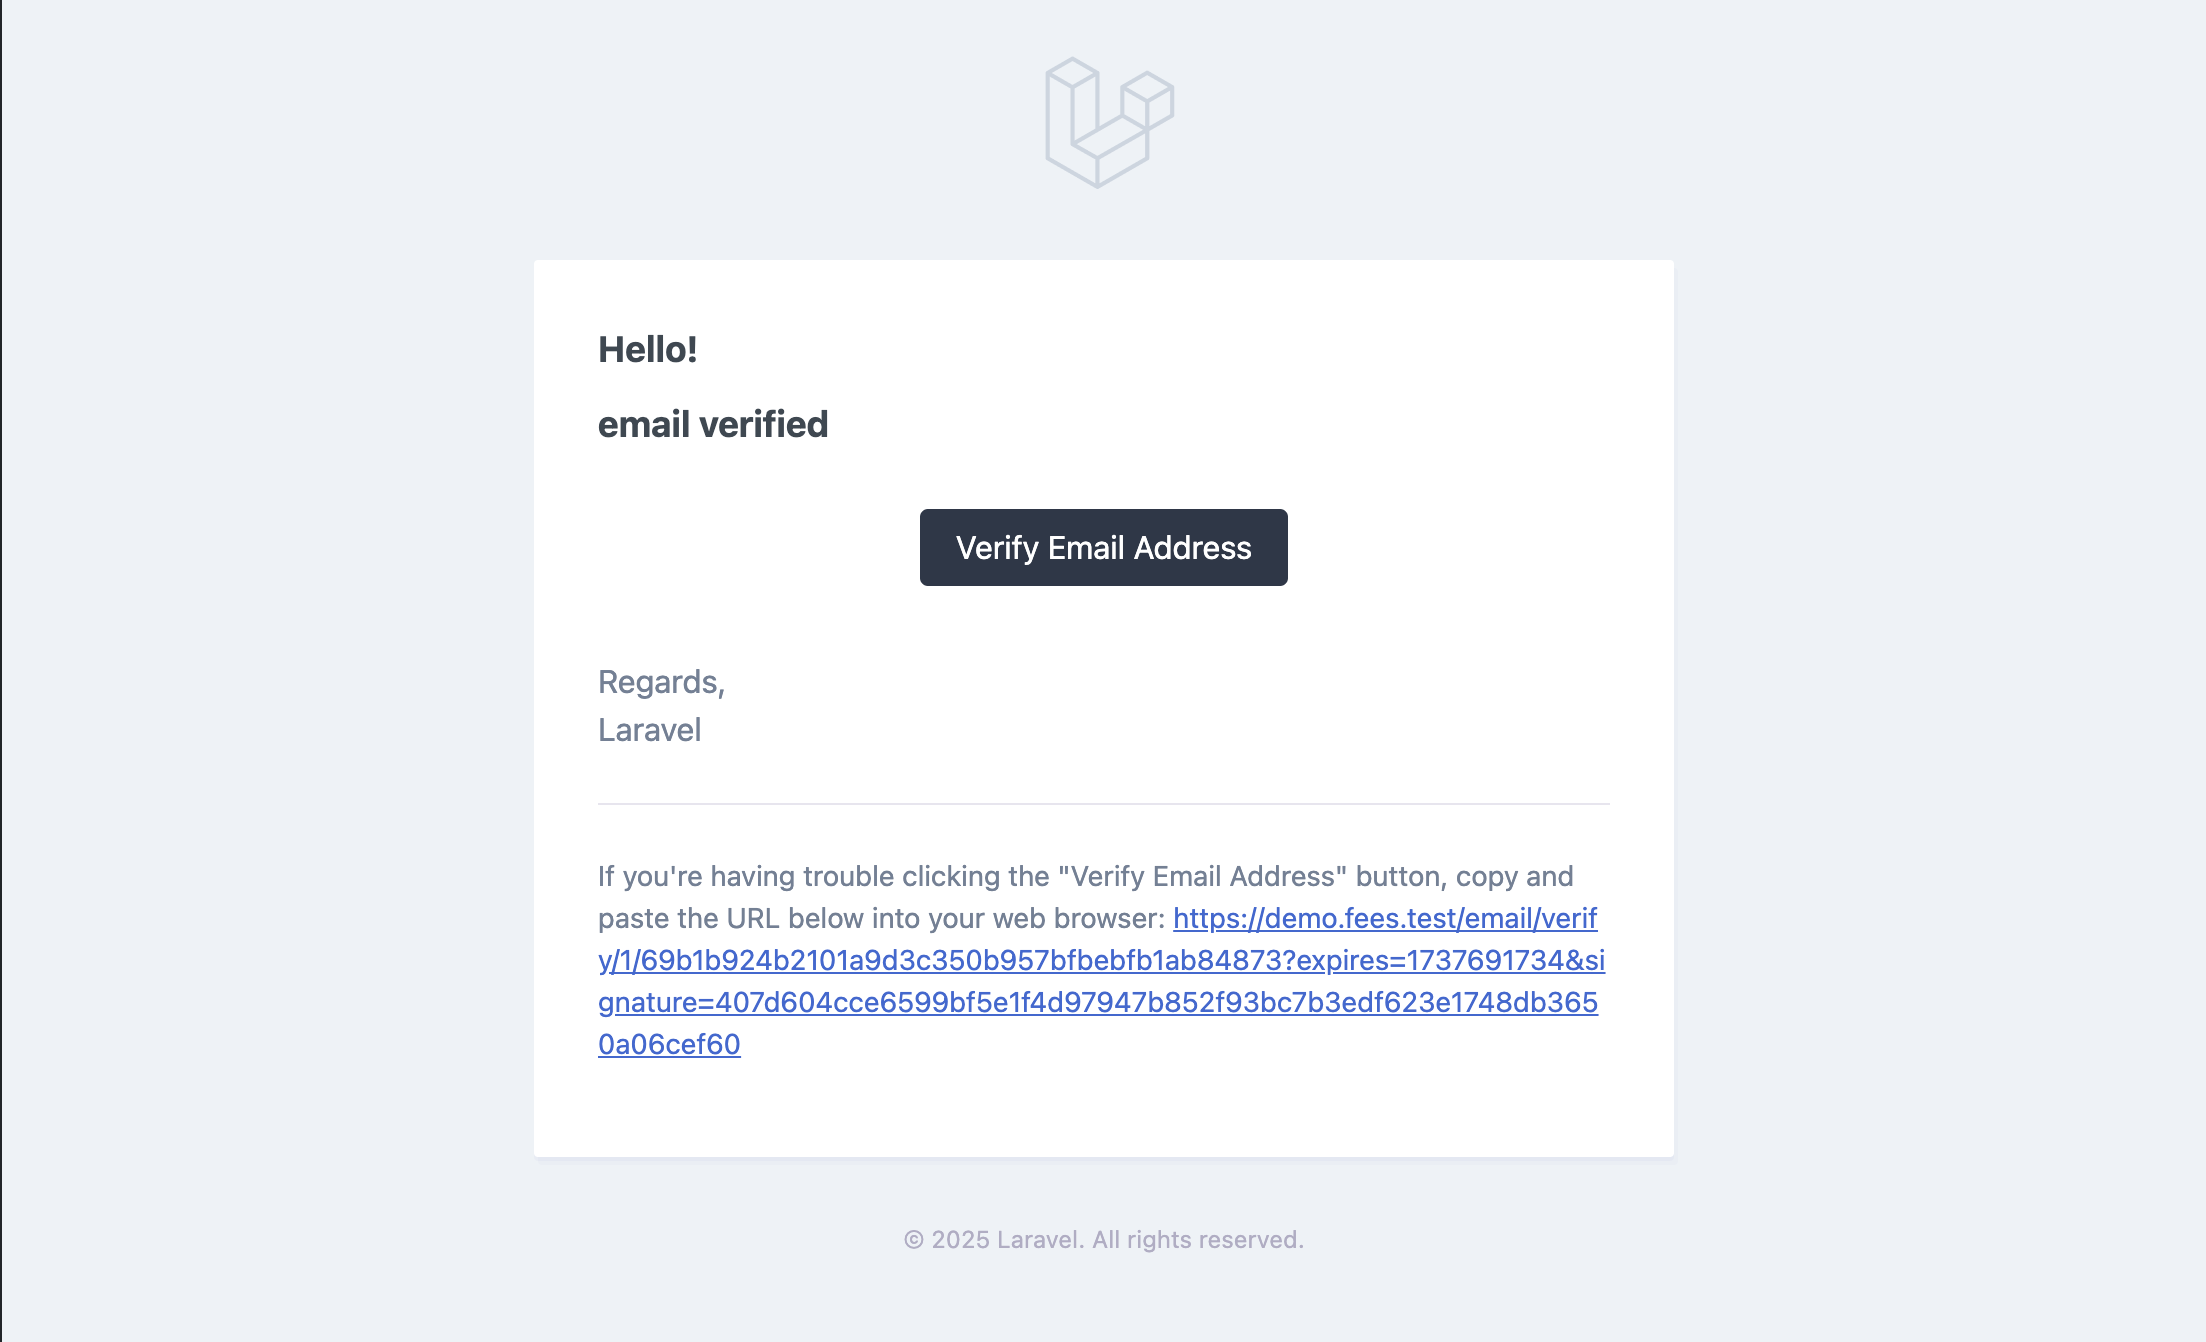
Click on Click here to verify button to send email verification to the registered email.
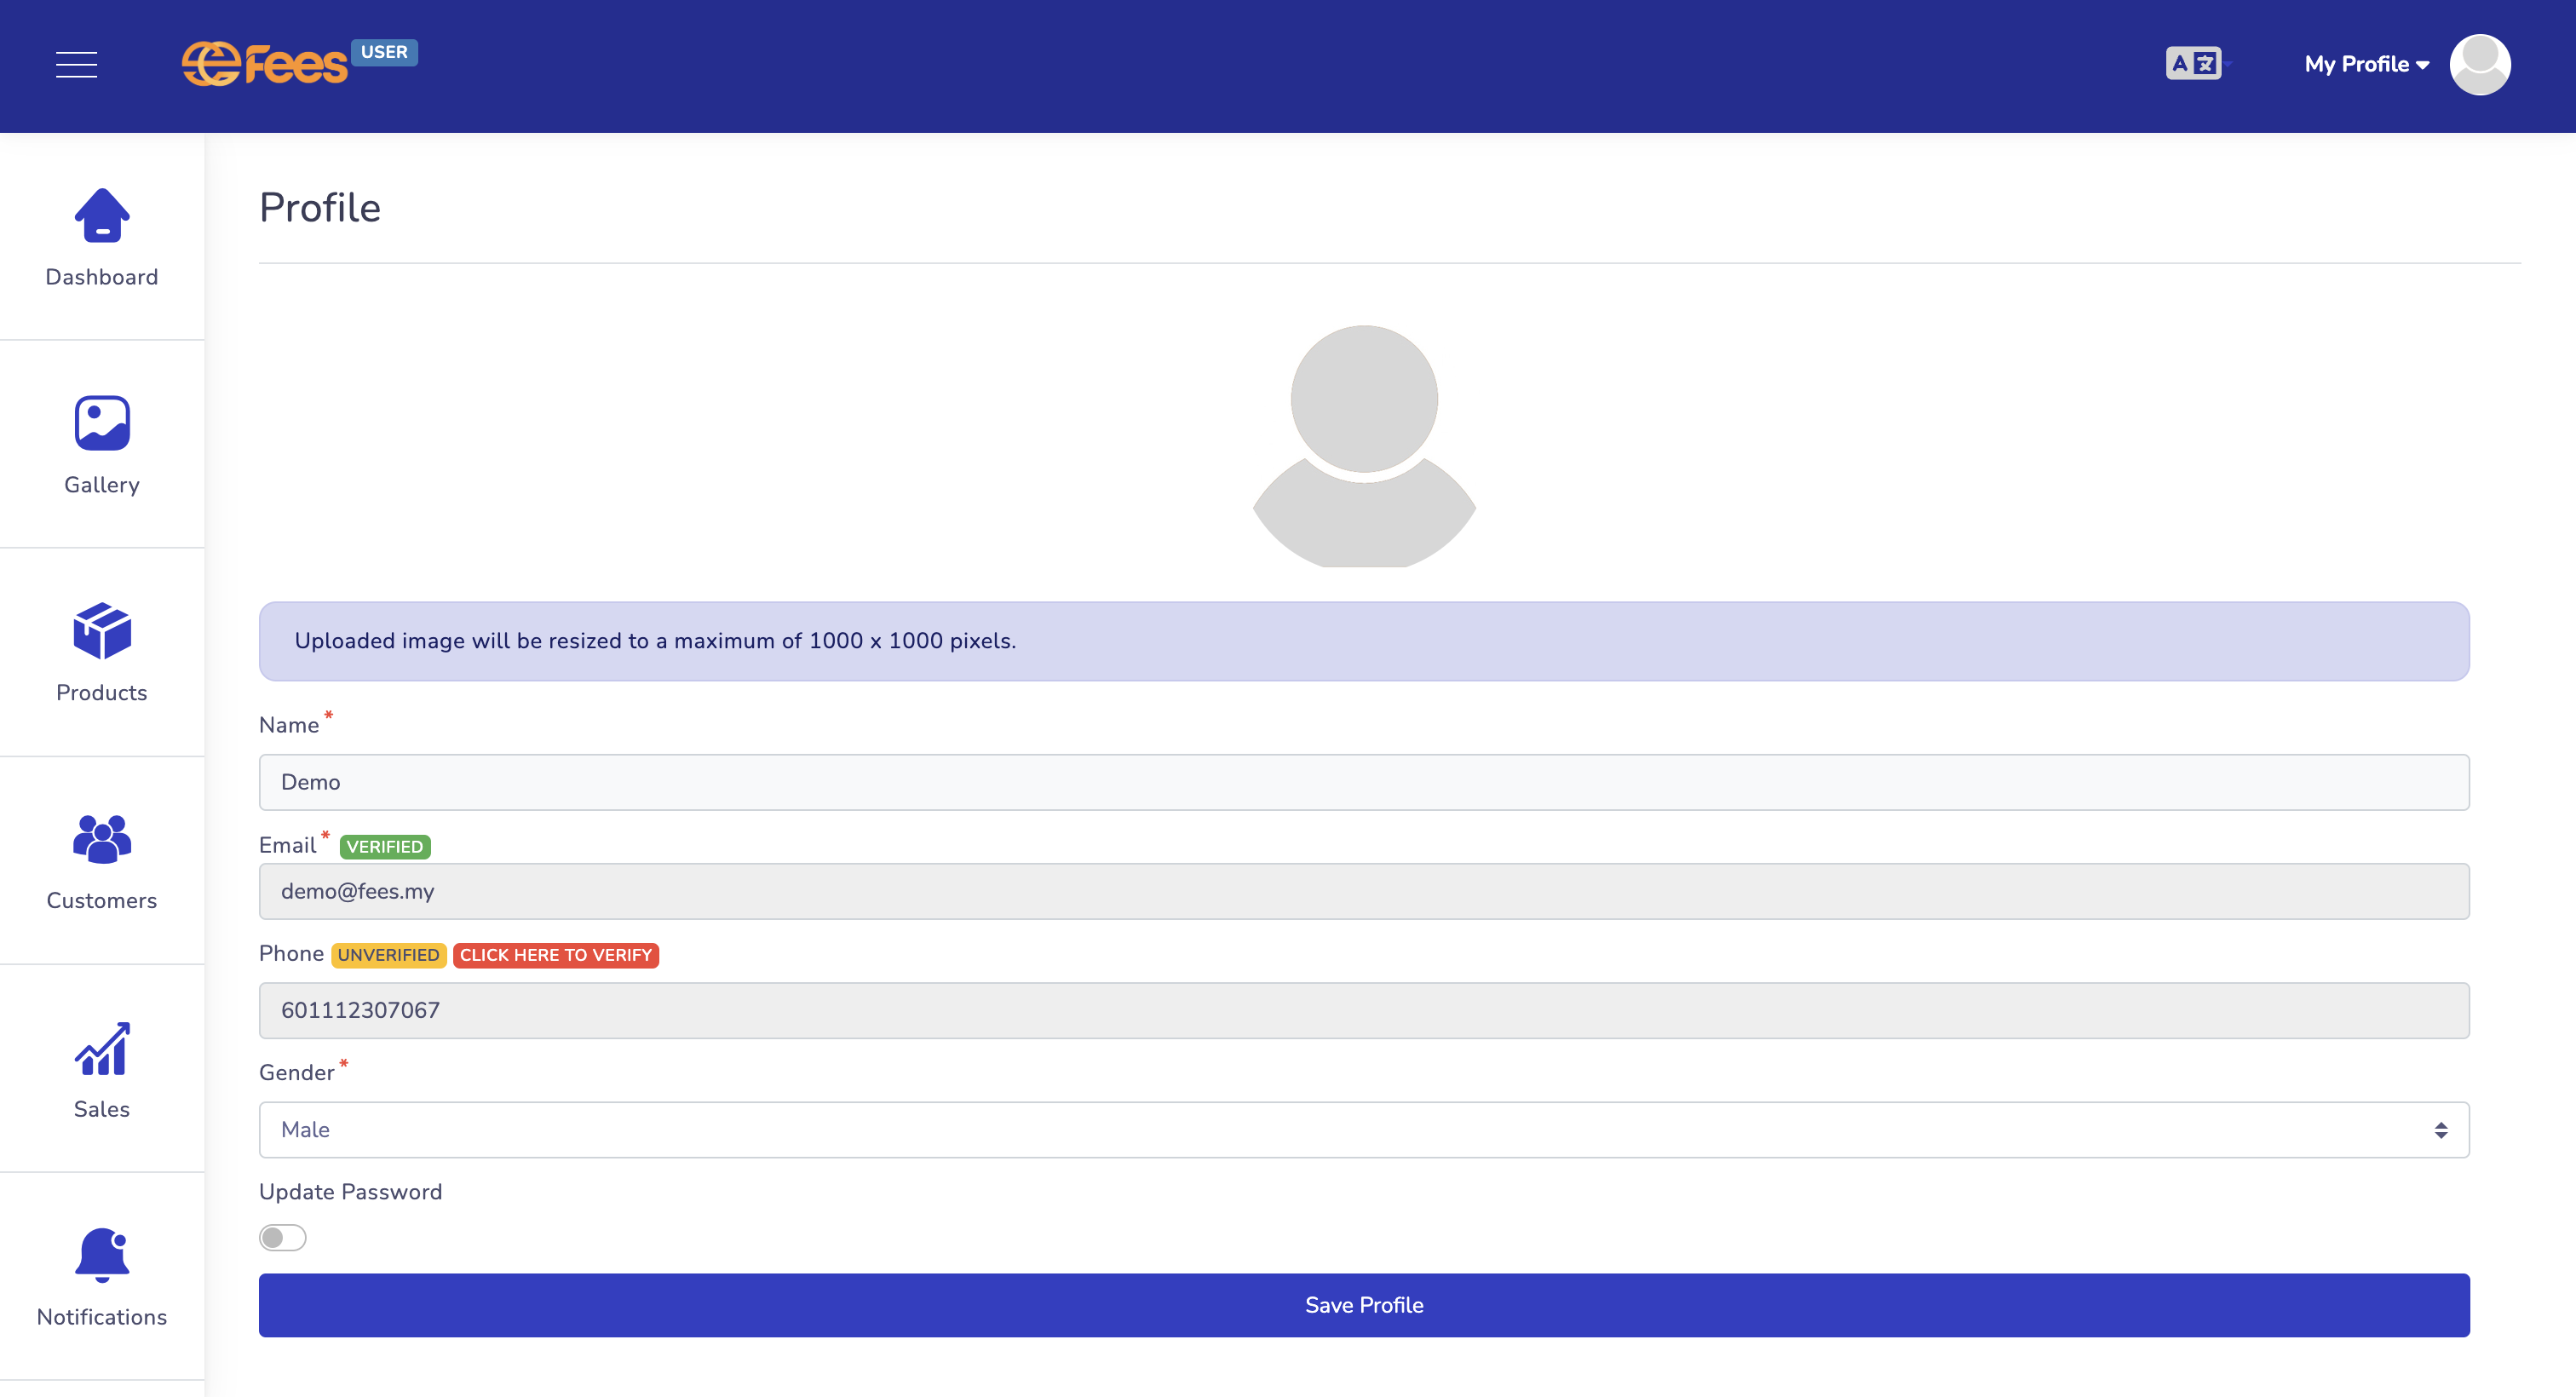
After clicking on the link, you will be redirected to the profile page. You will see the email address is verified.

Verify Phone Number
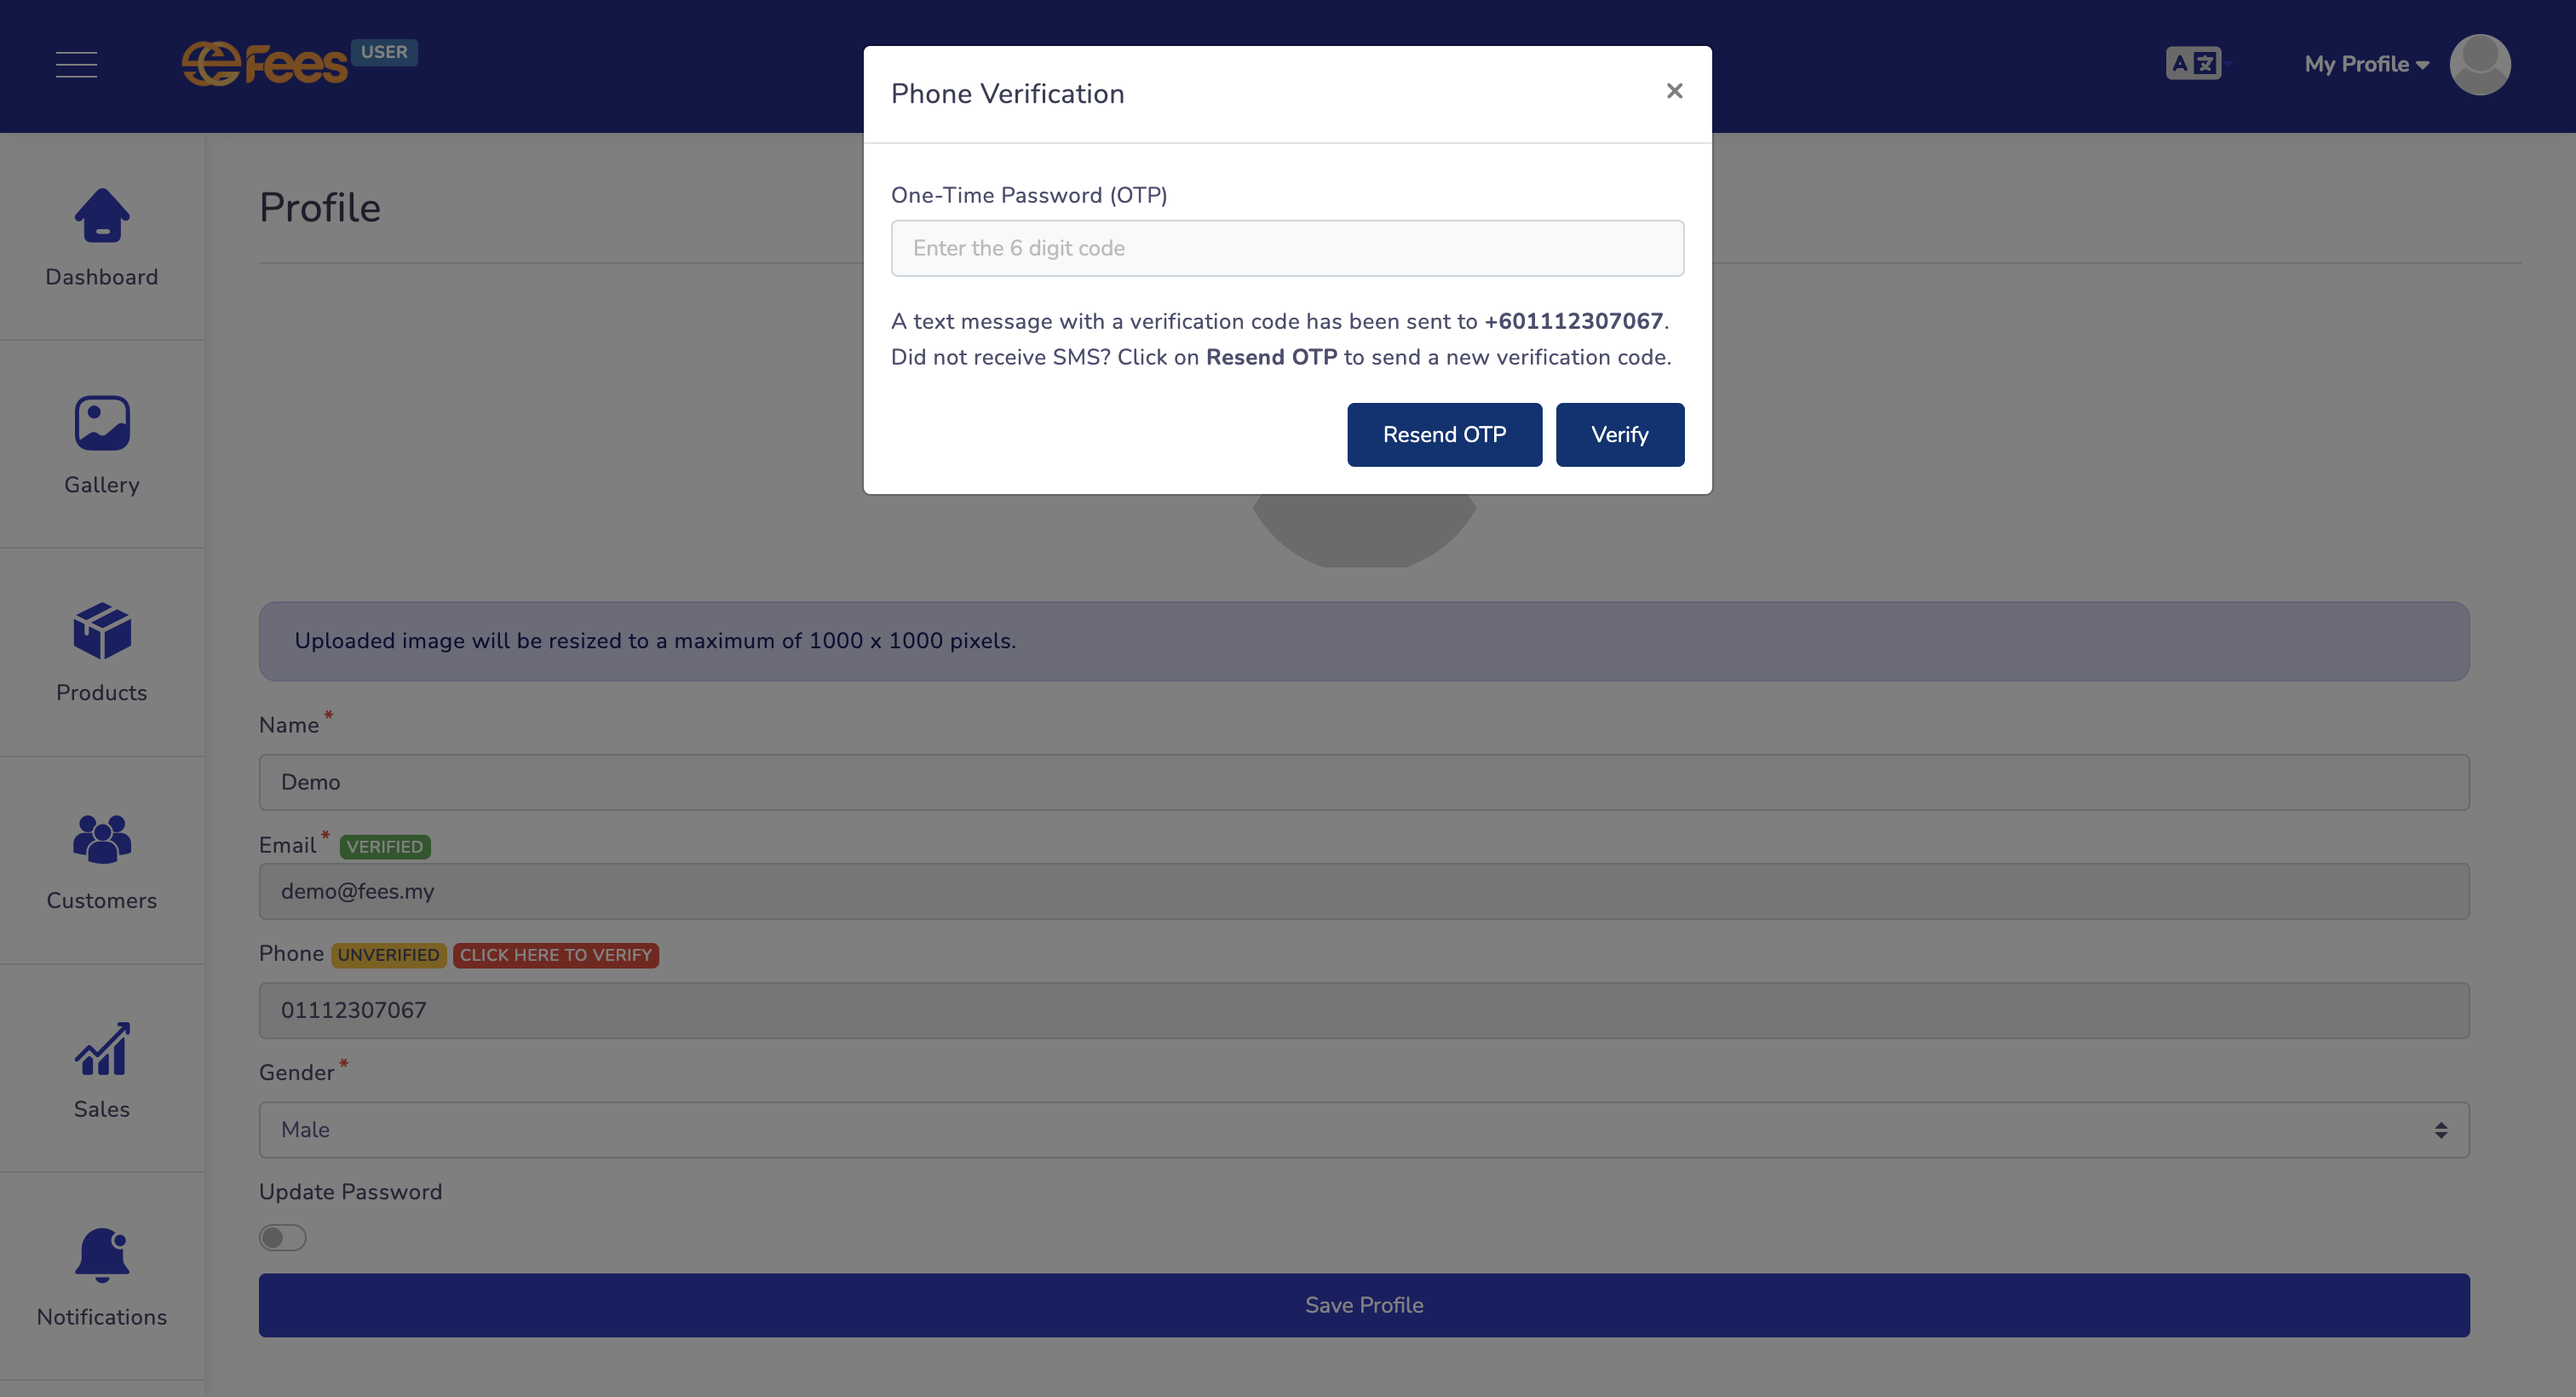
When you sign up, you will receive SMS with an OTP code. Based on the received code, you can verify
your OTP by clicking the Click here to verify button.

Enter the OTP code and click the "Verify" button. You can resend the OTP code by clicking the "Resend OTP" button
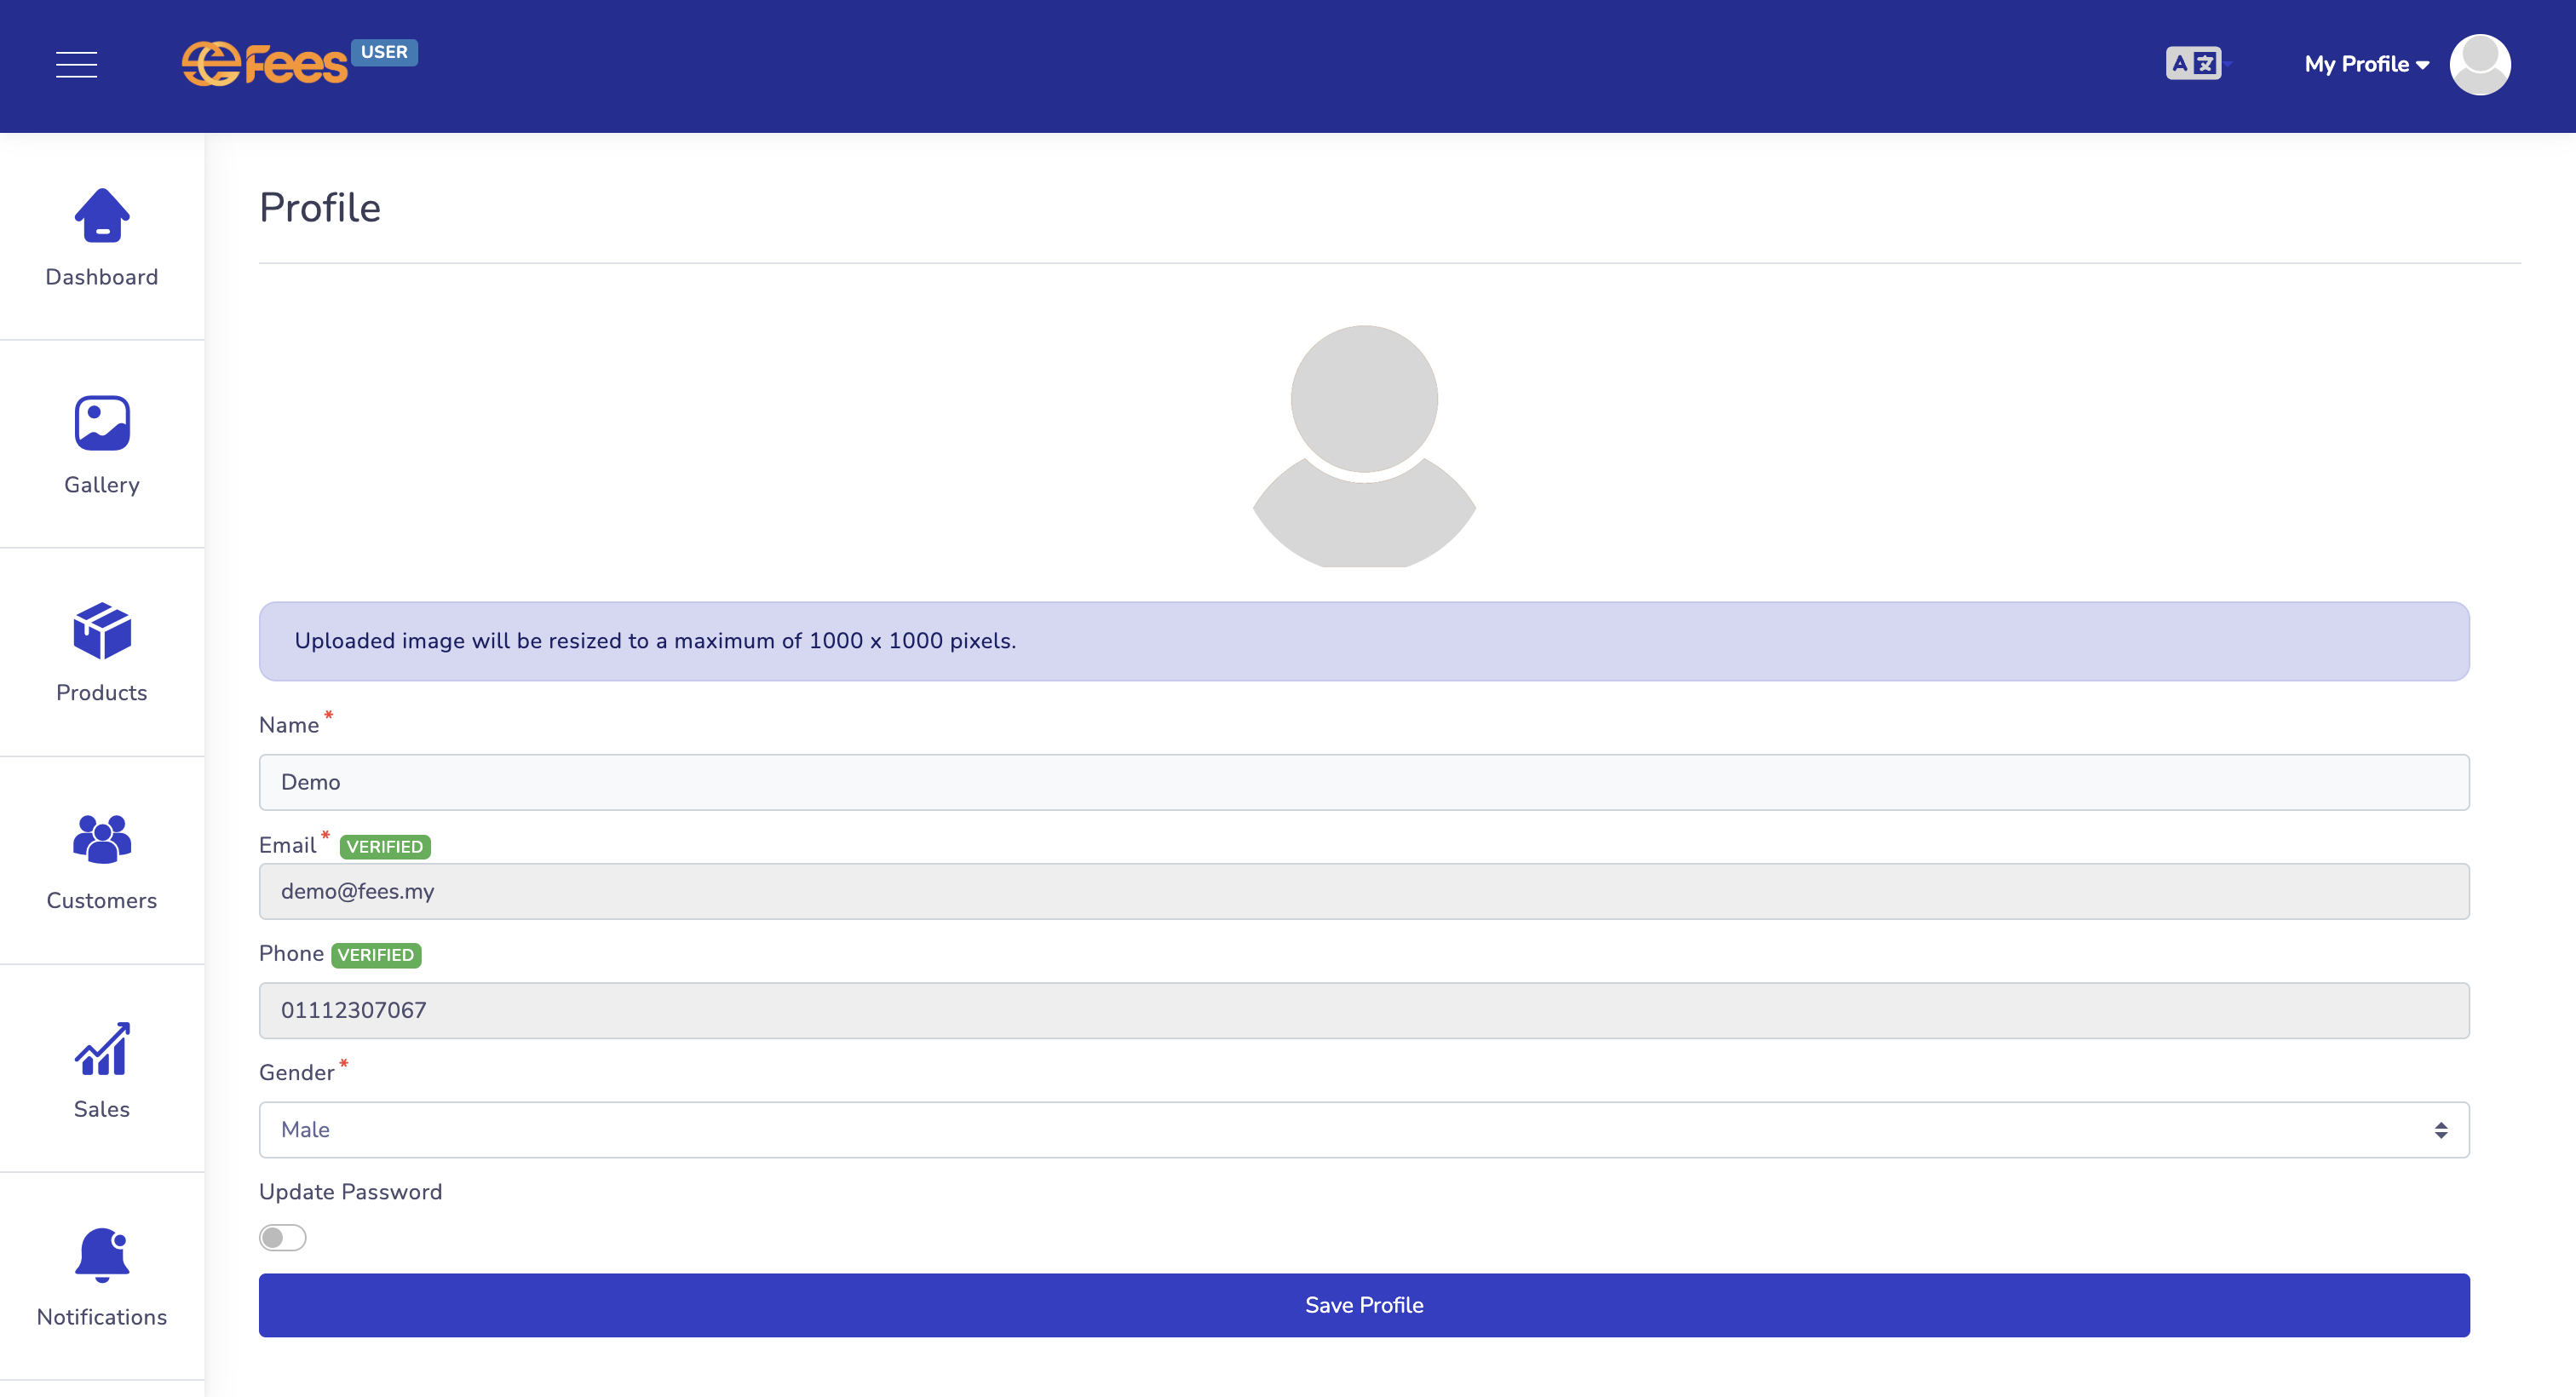
After a successful verification, your profile will look like this.
Set Up Business Information

Click on the "Settings" tab.
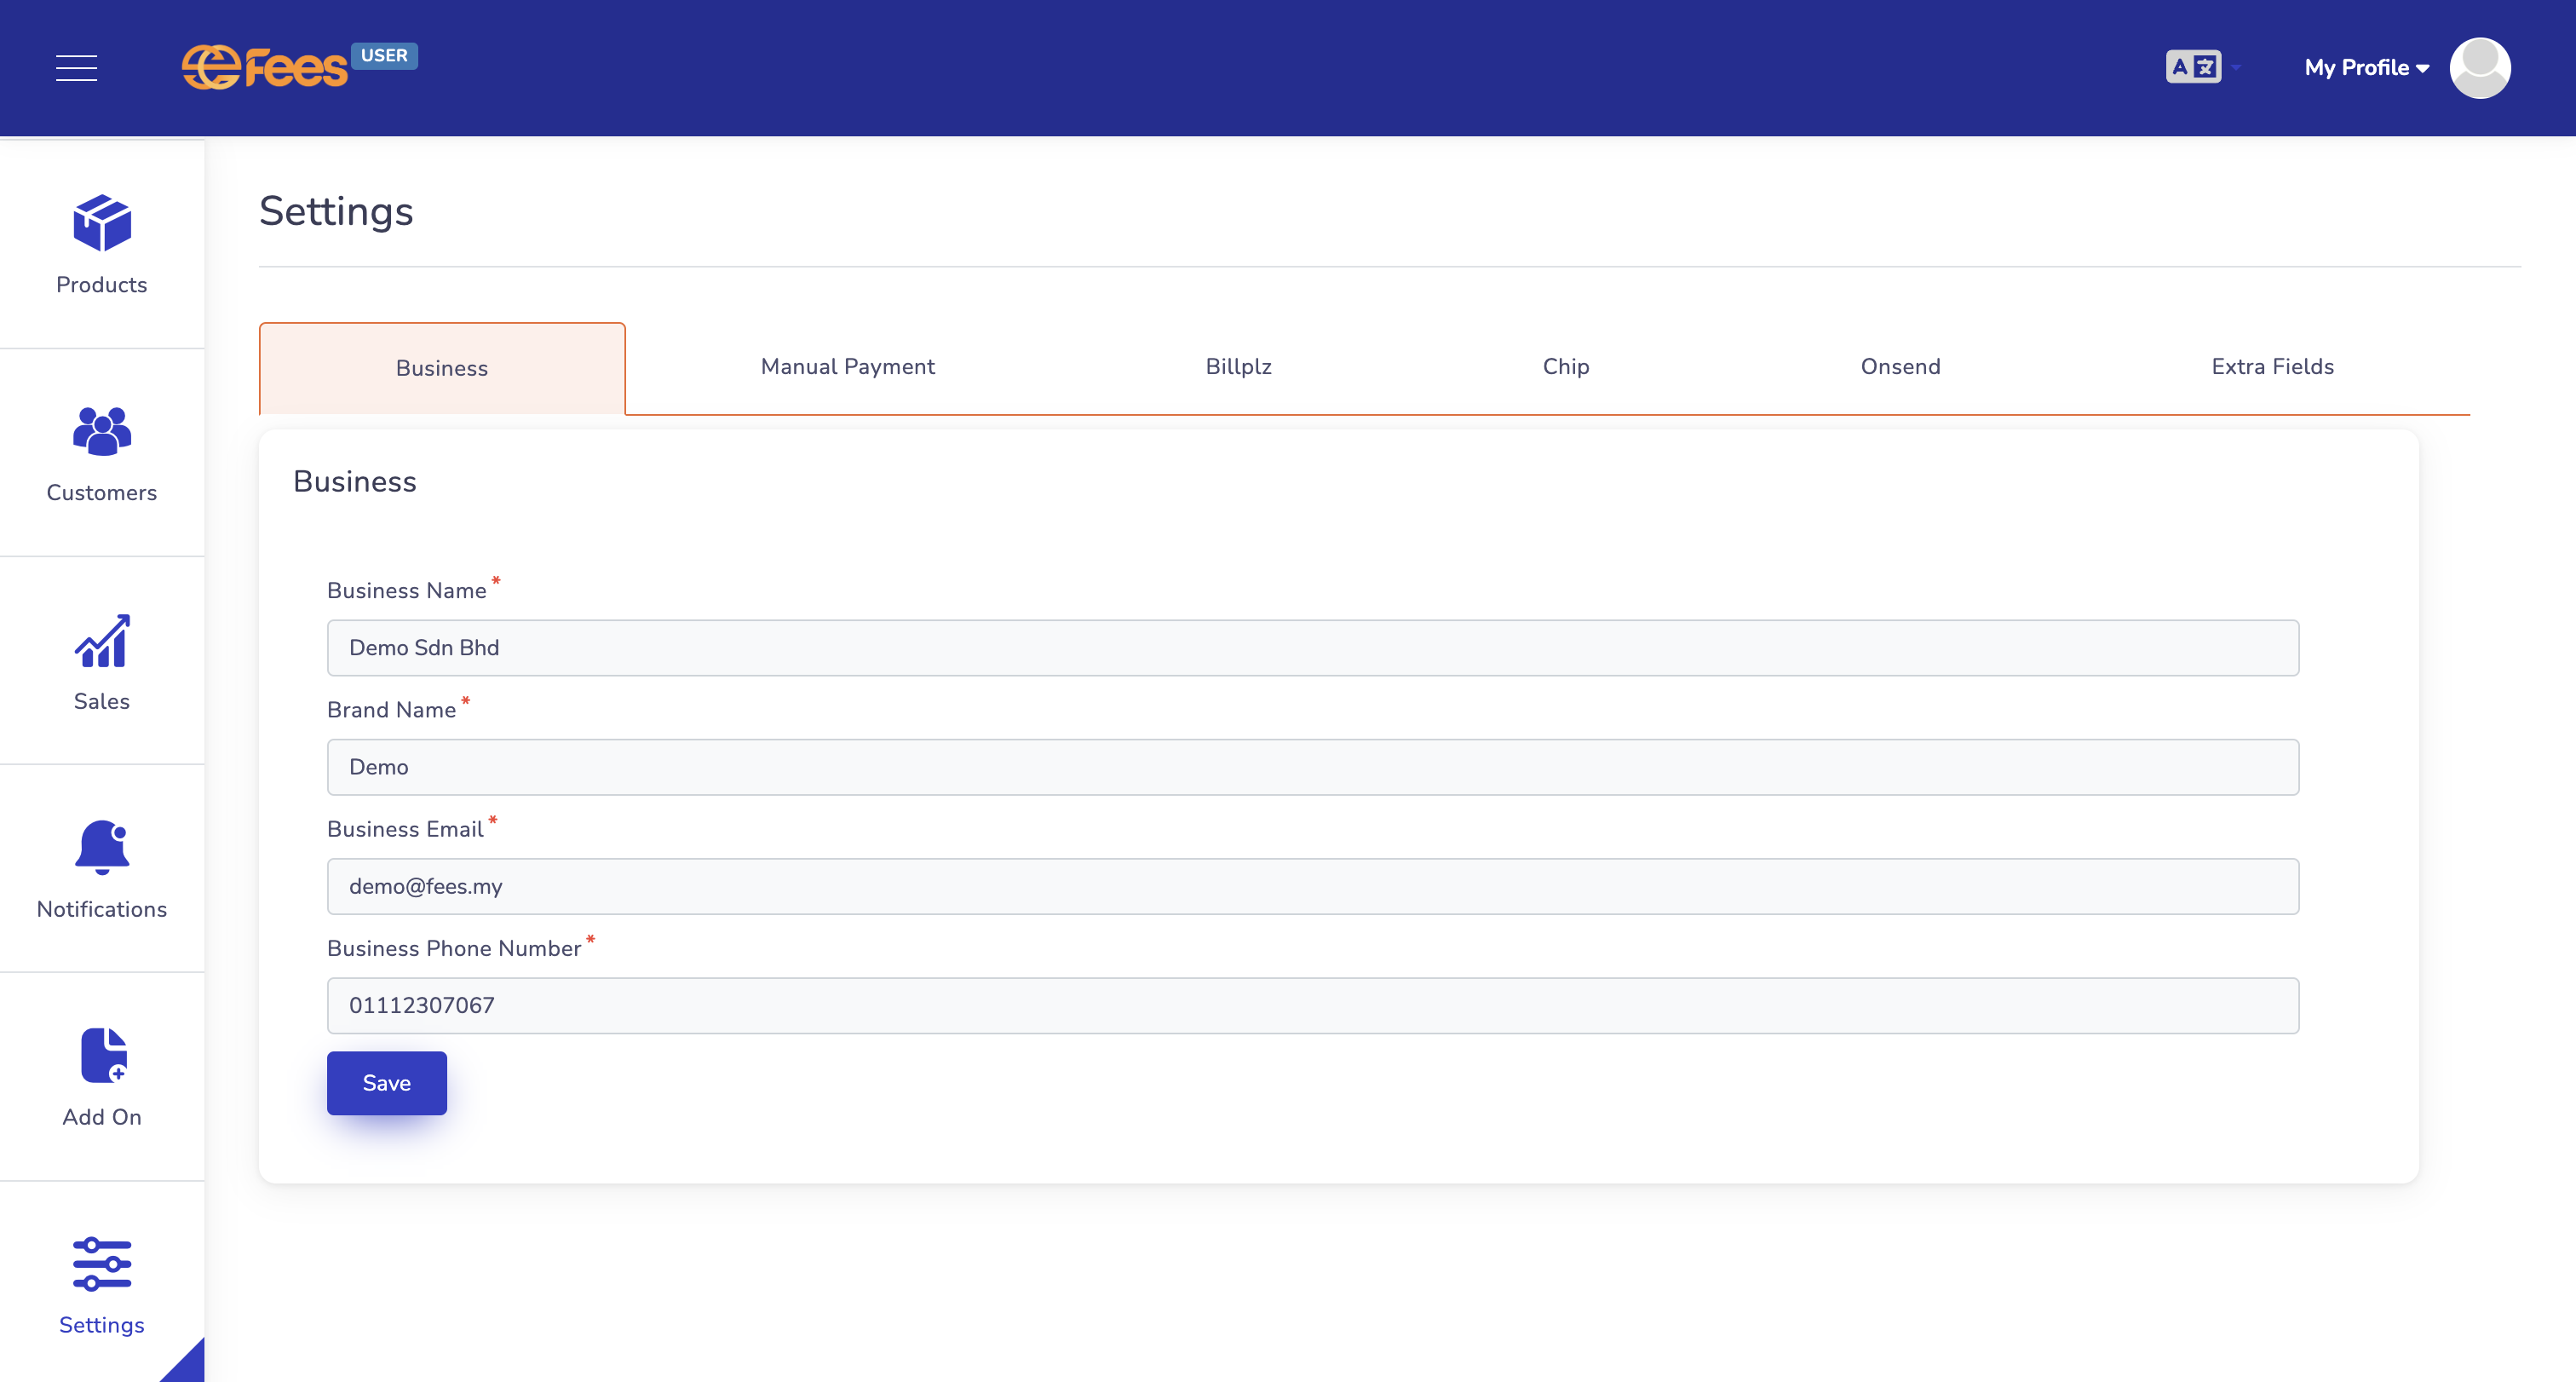
Click on the "Business" tab to set up your business name, brand name, business email and business phone number.
After setting up your business information, click "Save".
Product
Add Product

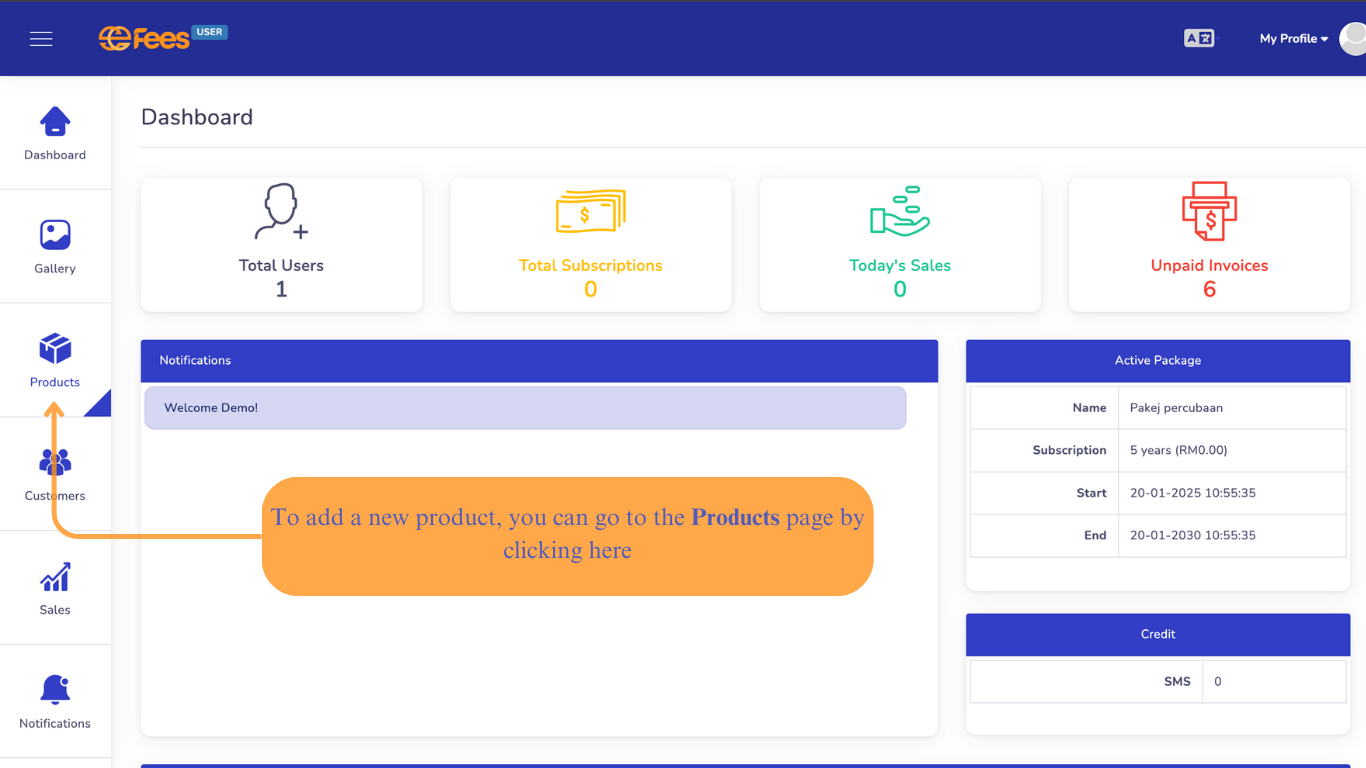
Click "Product" to proceed to product page.
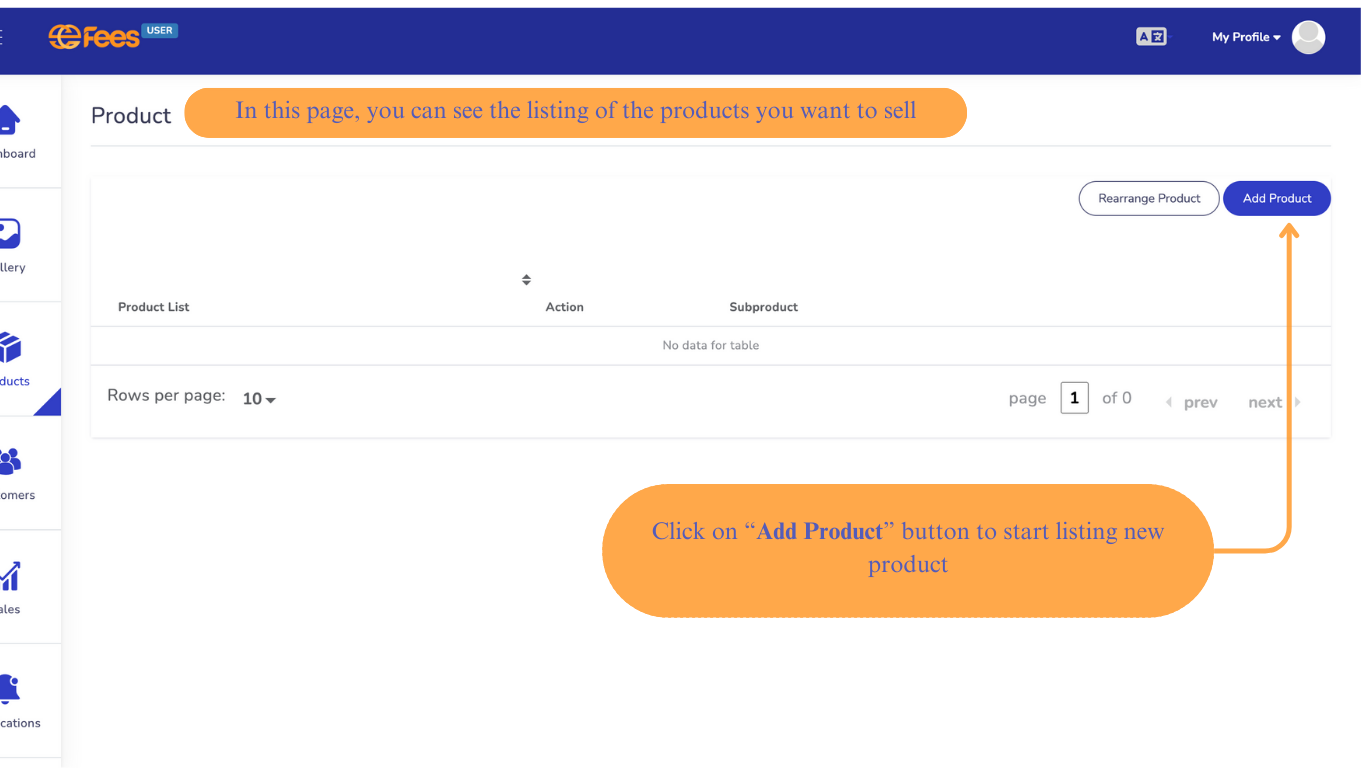
Click "Add Product" to add new product.
Enter the product name, description, category and image (optional).
You can hide the product from customer by clicking the "Hidden from customer view?" button. Then click "Save".
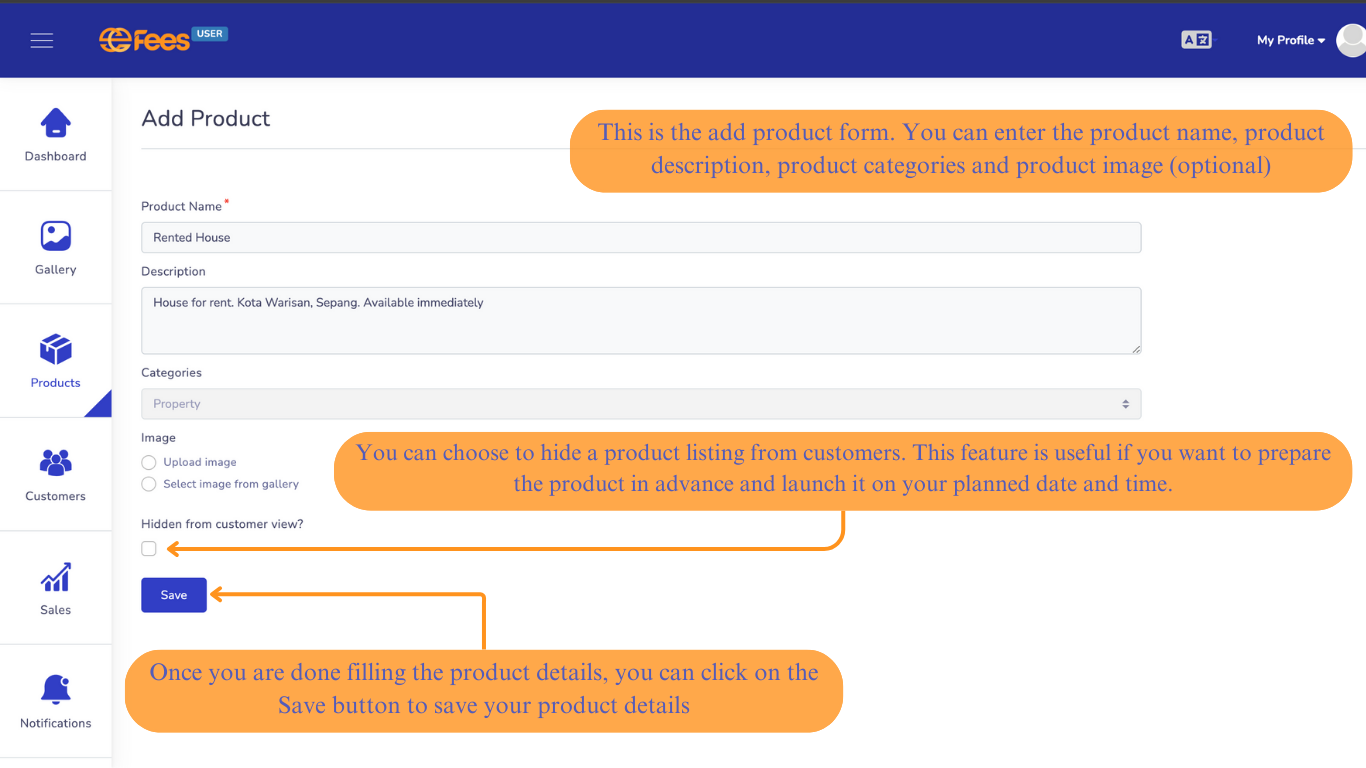
After clicking "Save", a popup will appear asking you to add a subproduct.
Click "Yes" to proceed to creating subproduct and click "No" to exit.
Add Subproduct

Click "Add Subproduct" to proceed to subproduct page and create subproduct.
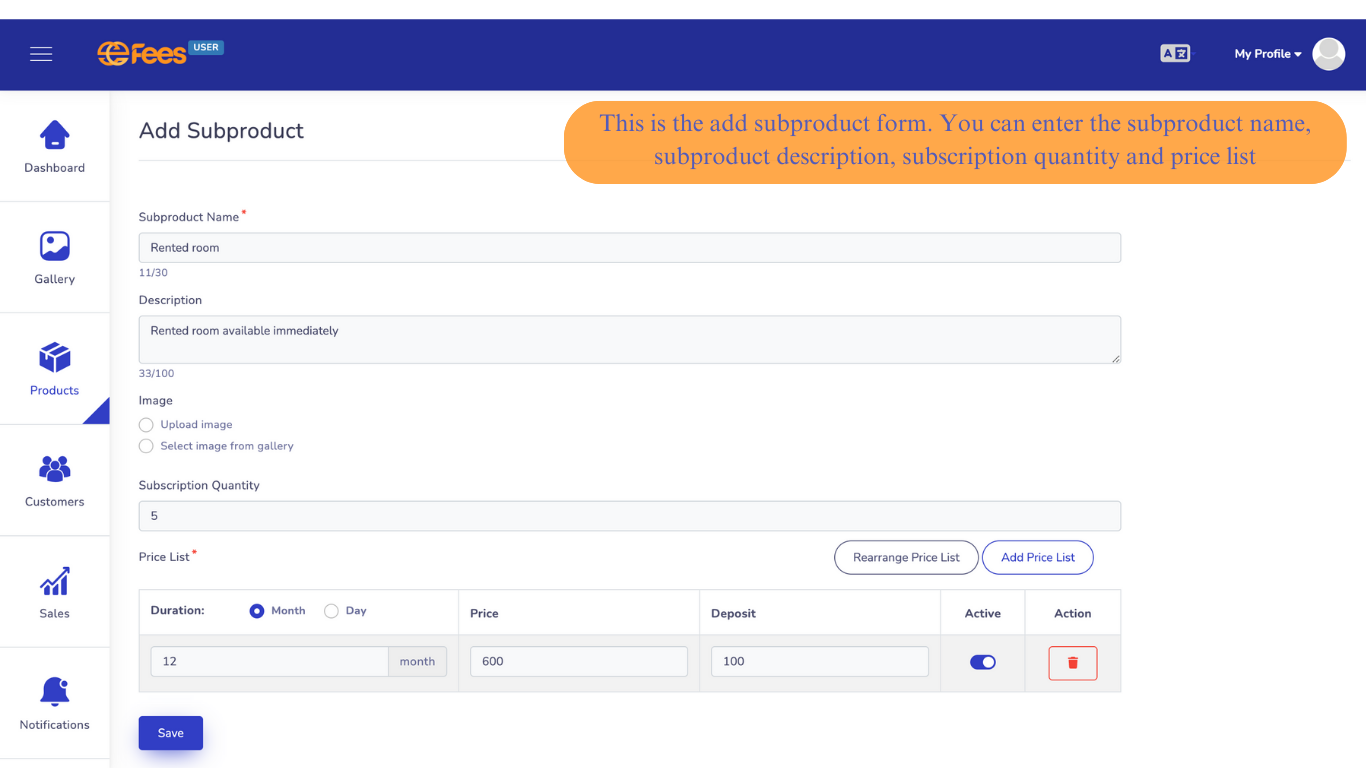
Enter the subproduct name, description, image(optional), subscription quantity and price. Then click "Save".
Gallery
Upload Image

Click the "Gallery" tab.

You can add image here by file upload or import from URL.

Click "Add" and then click the icon to add a new image to the gallery from local files.

Choose an image and click "Add Image".
Upload using URL
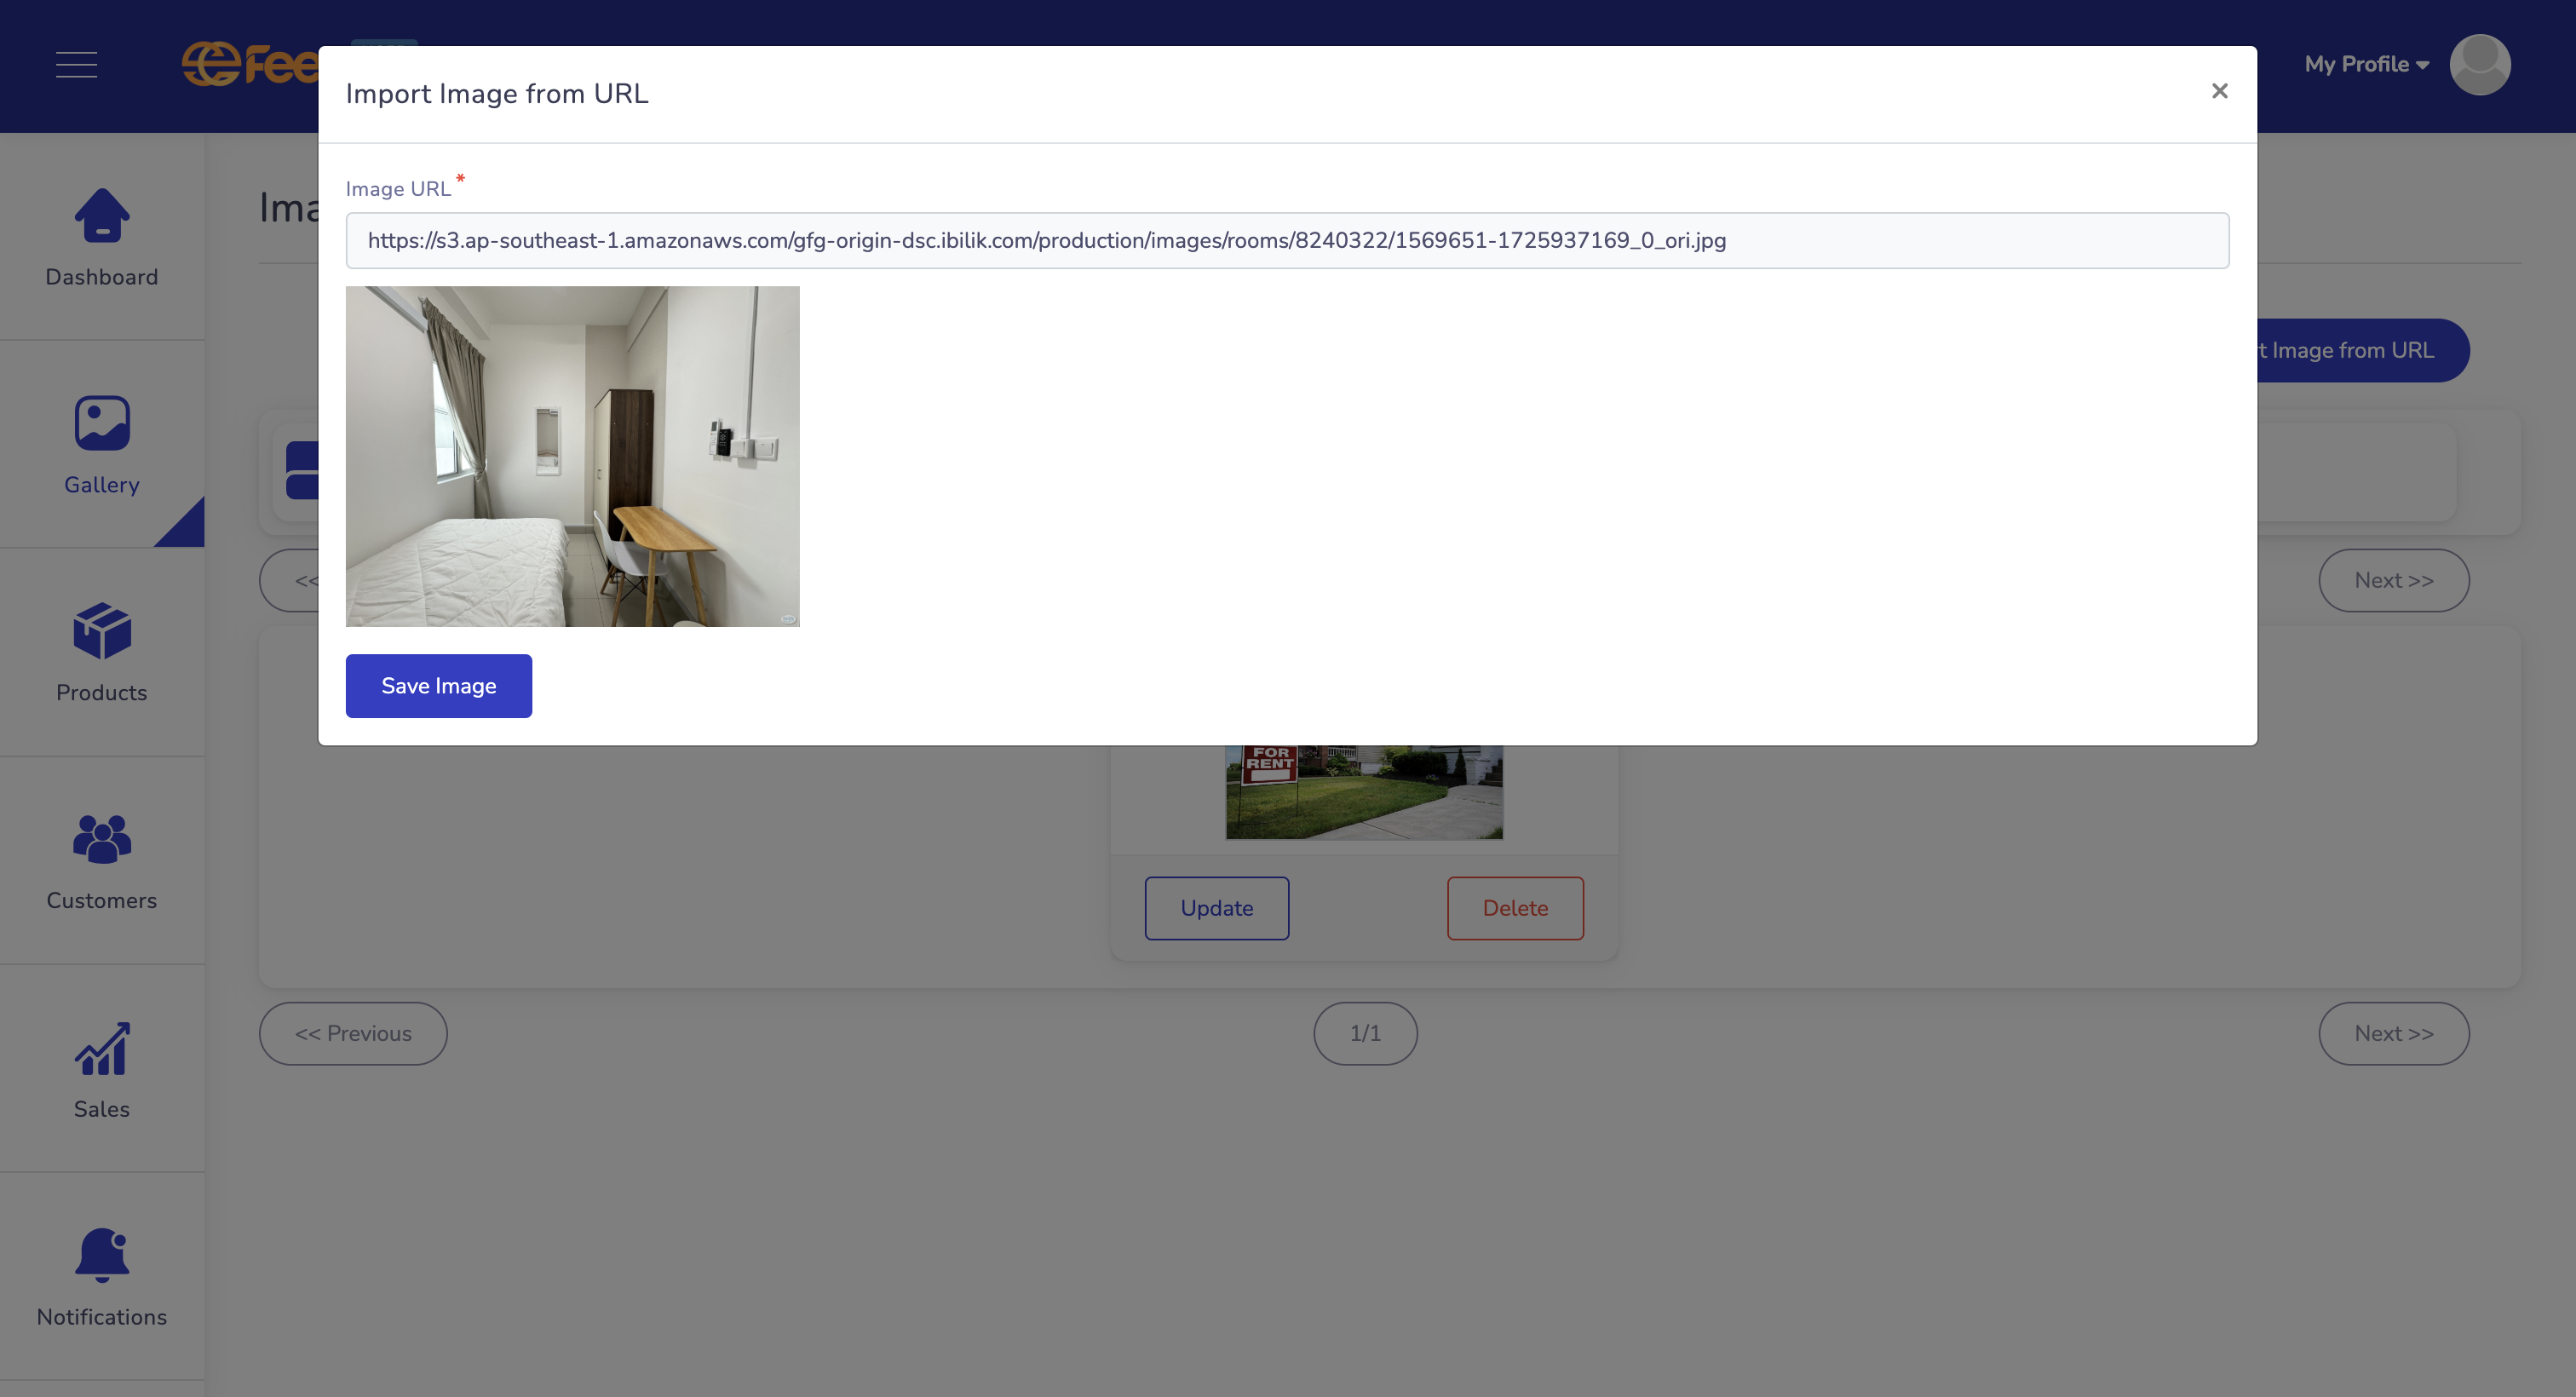
Enter the image URL and then click "Save Image".
Customer

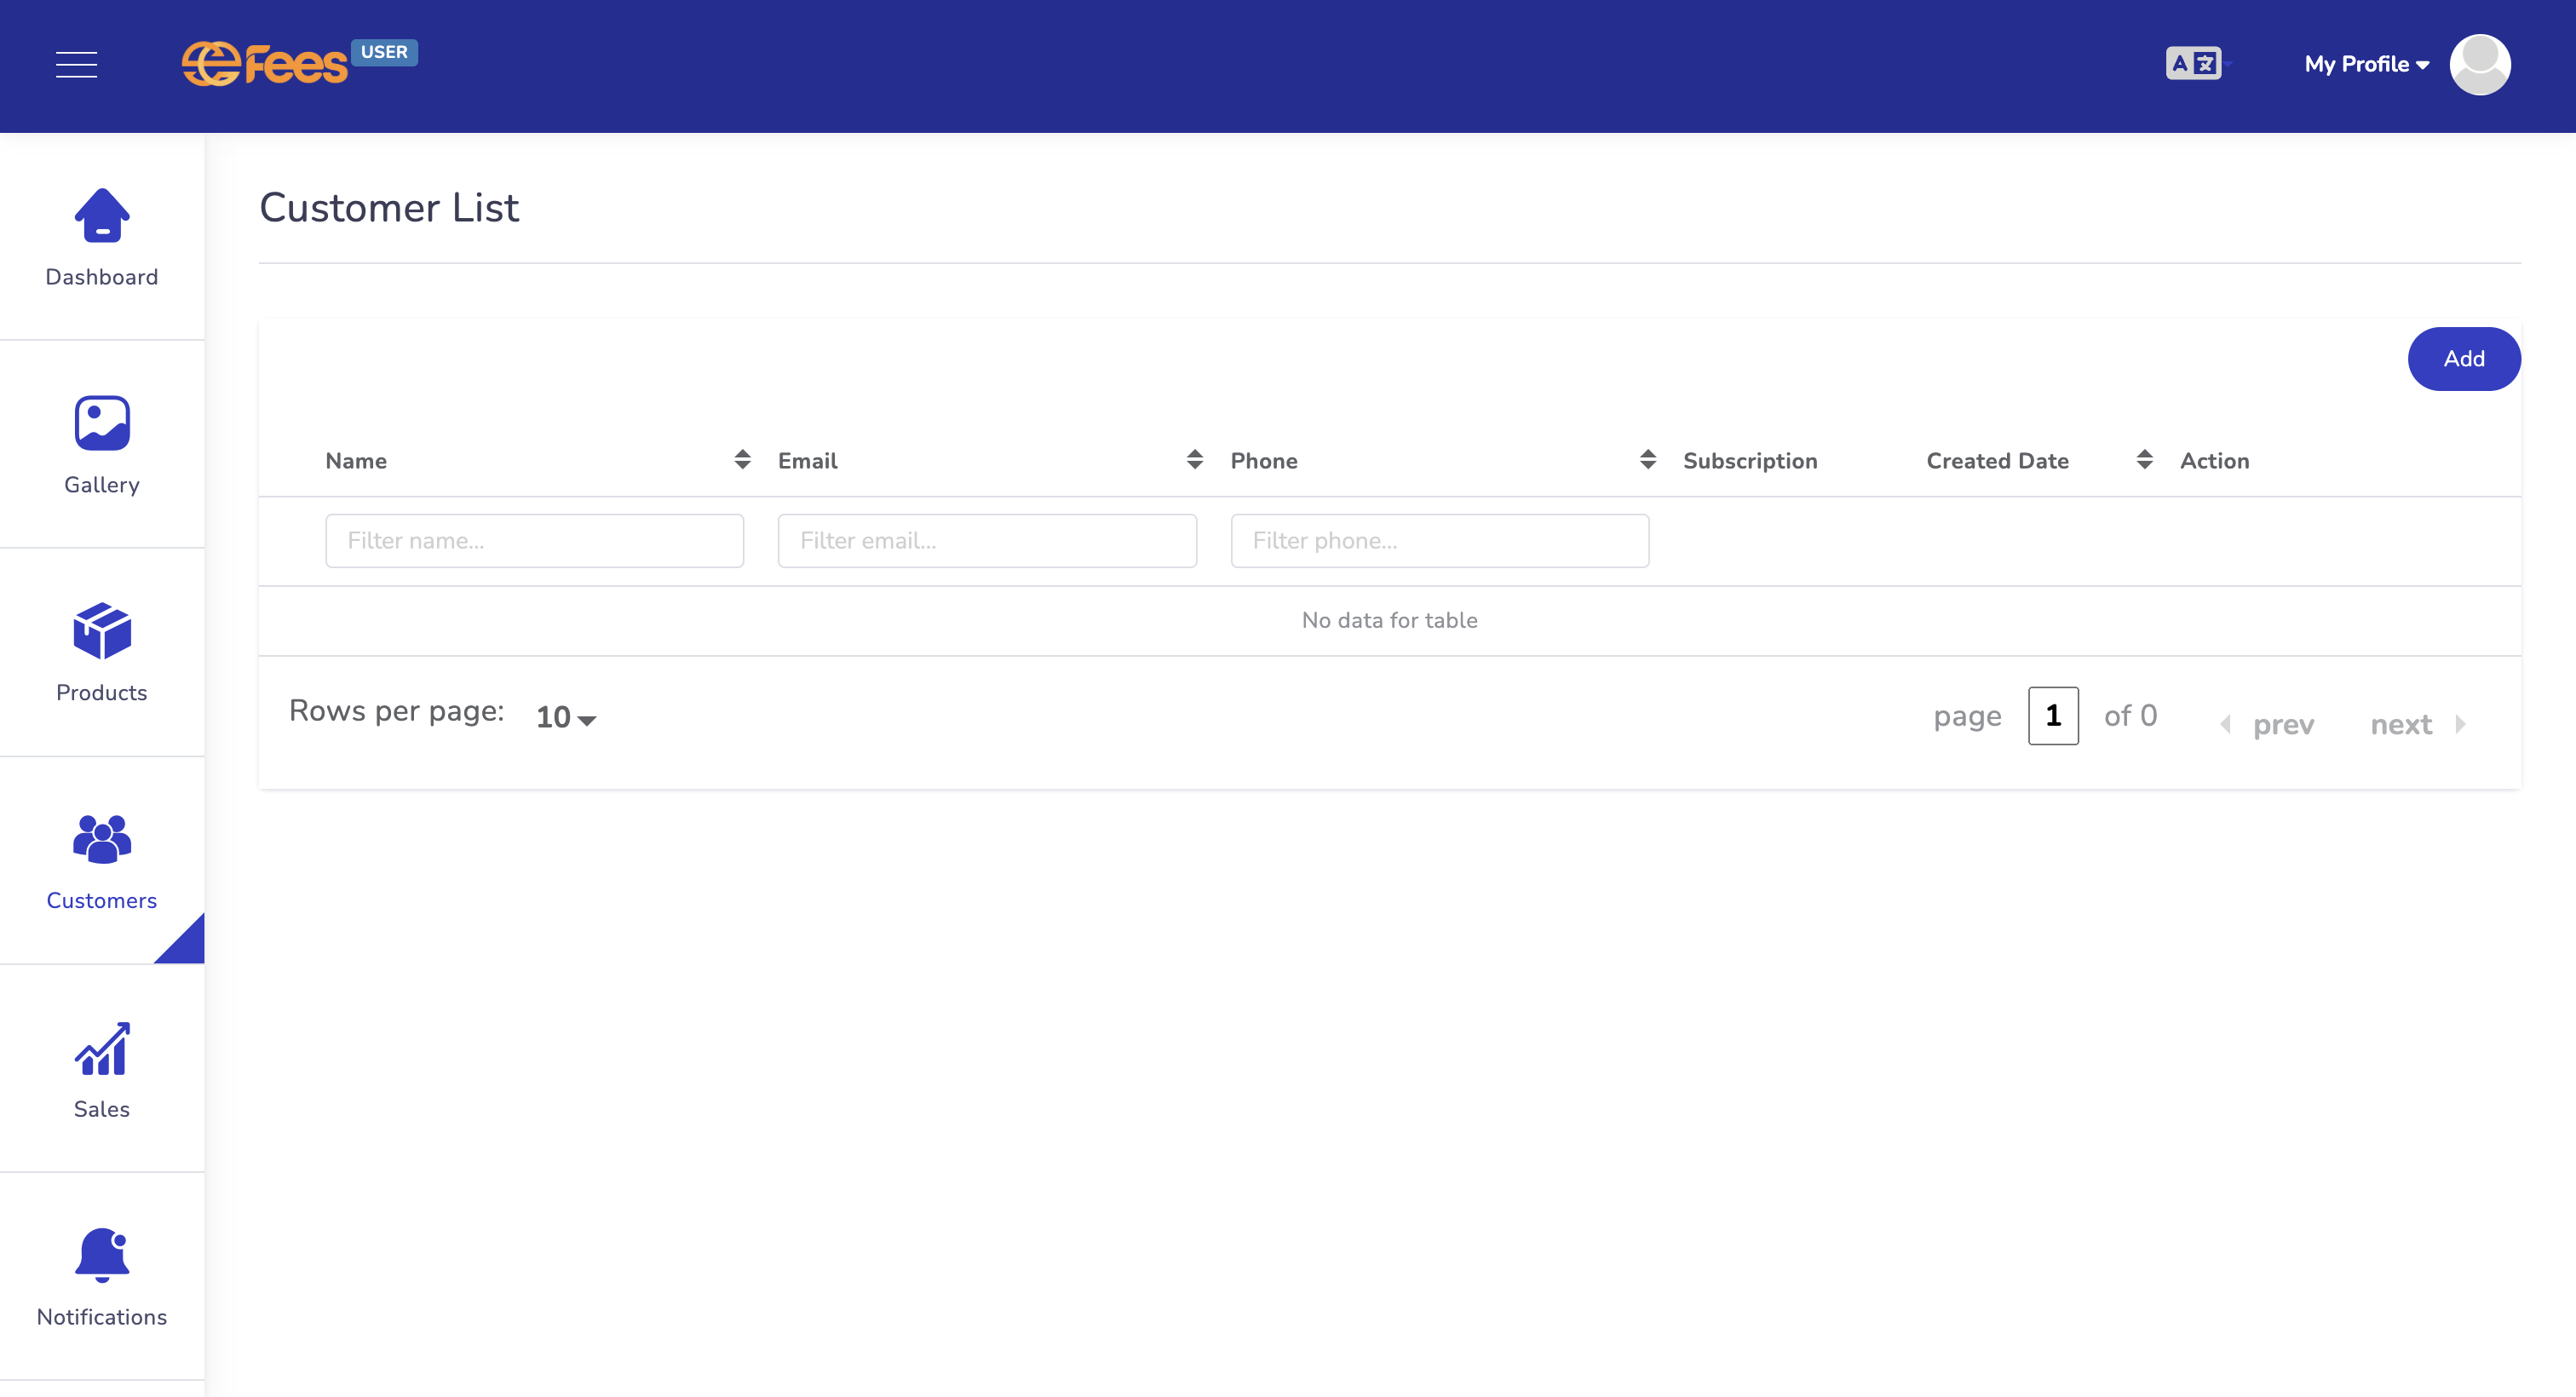
Click the "Customer" tab.

Click the "Add" button to add new customers.
Enter your customers' name, email, password, password confirmation, gender & phone number. Then click "Add".

After adding the new customer. The customers will display in customer list.

You can edit and delete the customers by clicking the button on right hand side. You can check
the customers' profile, subscription, invoices & subcustomers by clicking the name.

You can add subscription for a customer by clicking the "Subscriptions" tab and click "Add".

Enter customer name, renew, select product, select subproduct, select package, start date, end date and renew date.
Then click "Add".

You can create invoices for a customer by clicking the "Invoices" tab and click "Add".

Enter the invoices name, description, status, customer and subscription. You can add invoice items
by clicking "Add Item".

After clicking "Add Item", a form will appear. Enter the item name, quantity and cost per unit. Then click "Save Item".
If you want to remove the item from the list, You can click on the "Remove Item" button. After completing the form, click "Save".
Notification
Activate/Deactivate Notification
Configure your notification settings here. You can view and activate/deactivate the notification here

Select which template you want to activate. You can select all by clicking "Select All" and then click "Activate".

Click "confirm" to proceed.
Customize Notification Template
Configure your notification settings here. You can customize the notification template for each notification type.

Click on the edit button to customize your template.

You can inactivate the template by clicking the "Active" switch. you can change the subject and the
contents of the template. If you want to use the default template, click the "Reset Template" on the
bottom right hand side. Then click "Save".
Add-On

Click the "Add" button to create new add-ons.
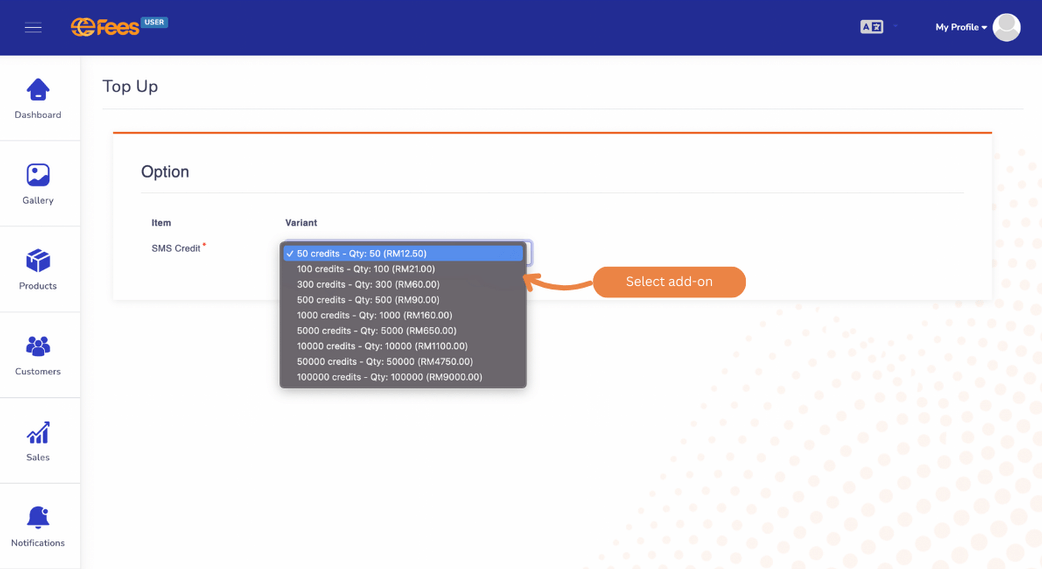
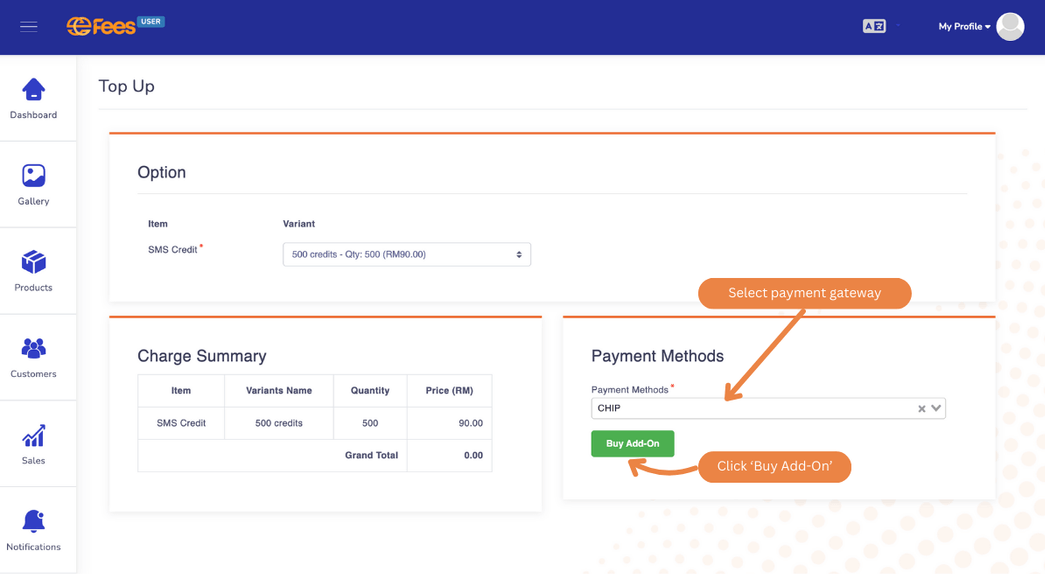
Select variant, select payment method and then click "Buy Add-on". This will direct you to thepayment gateway.
Settings
Configure your payment settings to enable direct bank transfers from customers. Add your business bank account details including account holder name and number to allow customers to make secure manual payments directly to your business account.
Business Information
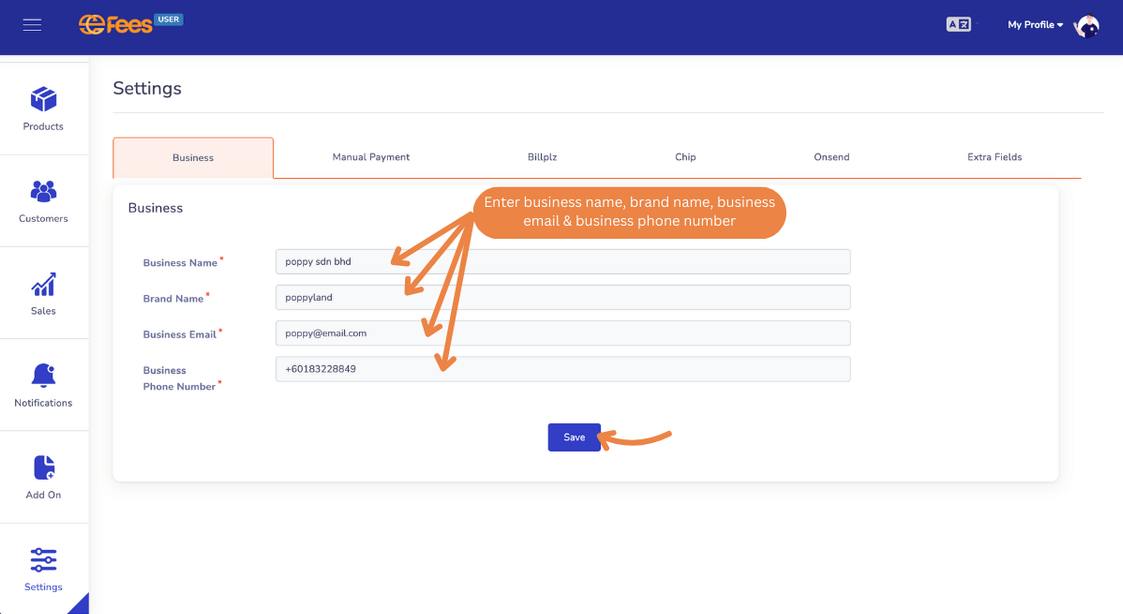
You can update your business details, including the business name, brand name, business email
and business phone number. Then click "Save".
Manual Payment
You can set up Manual Payment options, allowing customers and subcustomers to make direct payments to a designated bank account. Users can easily add, remove, or update bank account details and bank names as needed.

Click on the "Activate" to use manual payment. Then select type of banking to provide payment proof.
To add bank account click "Add Account" button and enter the bank name, name of bank account holder
and account number. Then click "Save Account".
You can delete the account by clicking the "Remove Account".
Then click "Save".

You can update the bank account details by clicking the update "Update Account".
BillPlz
You can enable or disable the BillPlz settings as a payment channel for customers and subcustomers. When activated, BillPlz will be added as an available payment method for them.
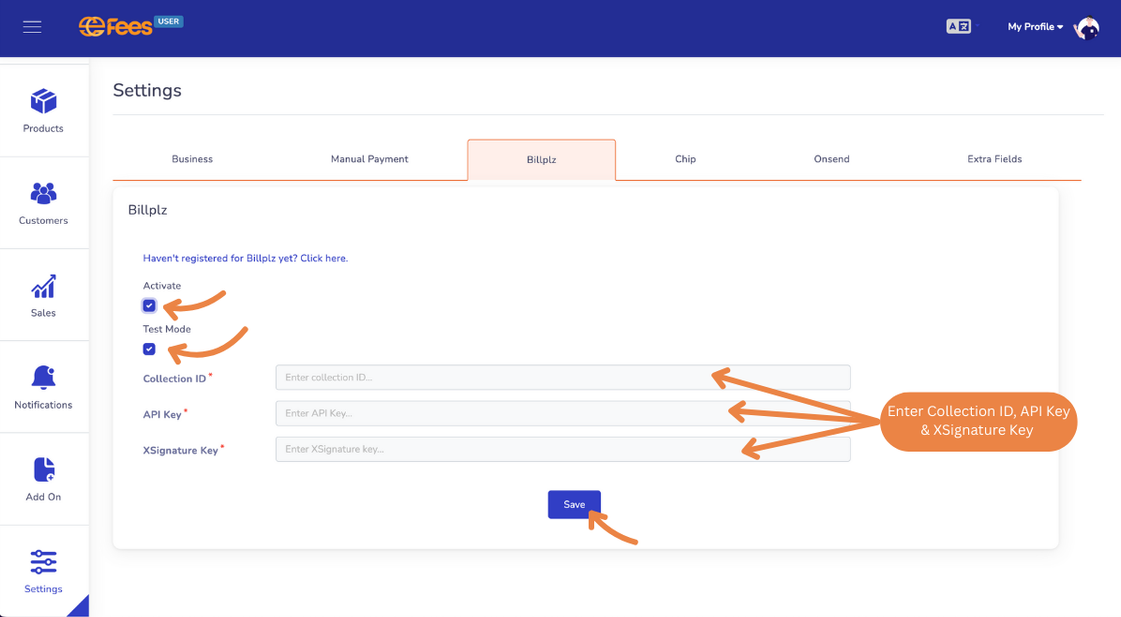
Click "Activate" to use Billplz. Click on "Test Mode" to turn on testing mode. Then enter the collection ID,
API key and XSignature Key. Then click "Save".
CHIP
You can enable or disable the Chip settings as a payment channel for customers and subcustomers. When activated, Chip will be added as an available payment method. Activating Chip will also enable the recurring payment option, allowing customers and subcustomers to set up automatic payments

Click "Activate" to use Chip. Click on "Test Mode" to turn on testing mode. Then enter the brand ID and API key. Then click "Save".
OnSend
You can configure the OnSend settings for blasting and WhatsApp integration. You can enter the required keys and enable or disable the settings as needed.

Click "Activate" to use Chip. Click on "Test Mode" to turn on testing mode. Then enter the device token. Then click "Save".
Extra Fields
You can configure additional fields for customers and subcustomers if necessary. For instance, if you need to store information about their country, you can use extra field.

Activate any of these extra fields.

You can make the extra fields as required and insert it into invoice. You can also choose the type of text for the field.